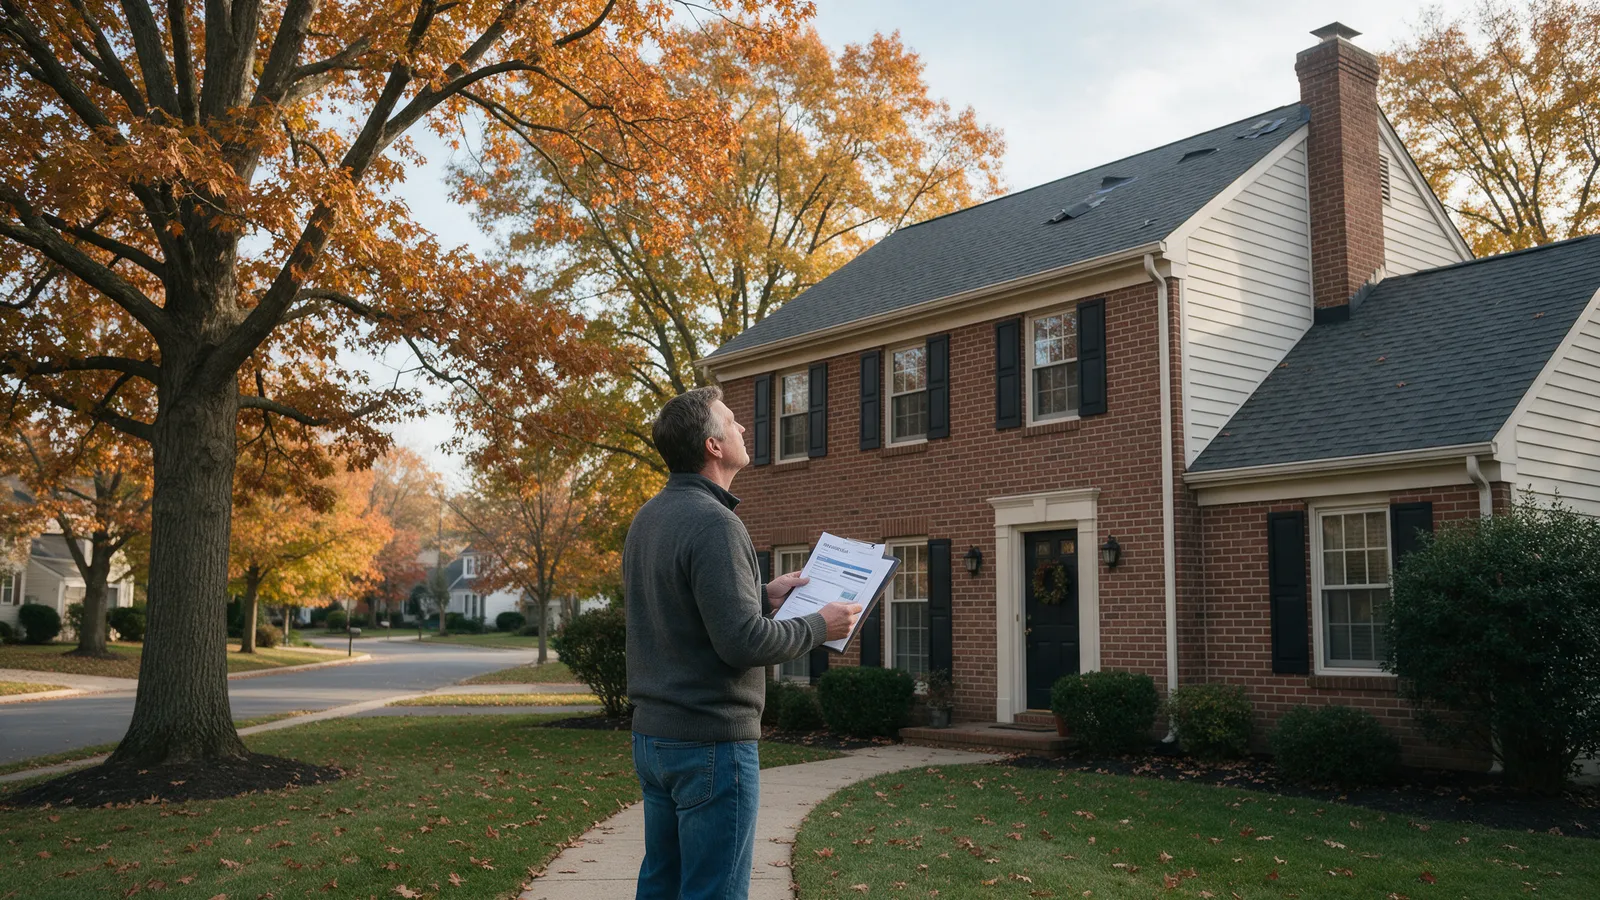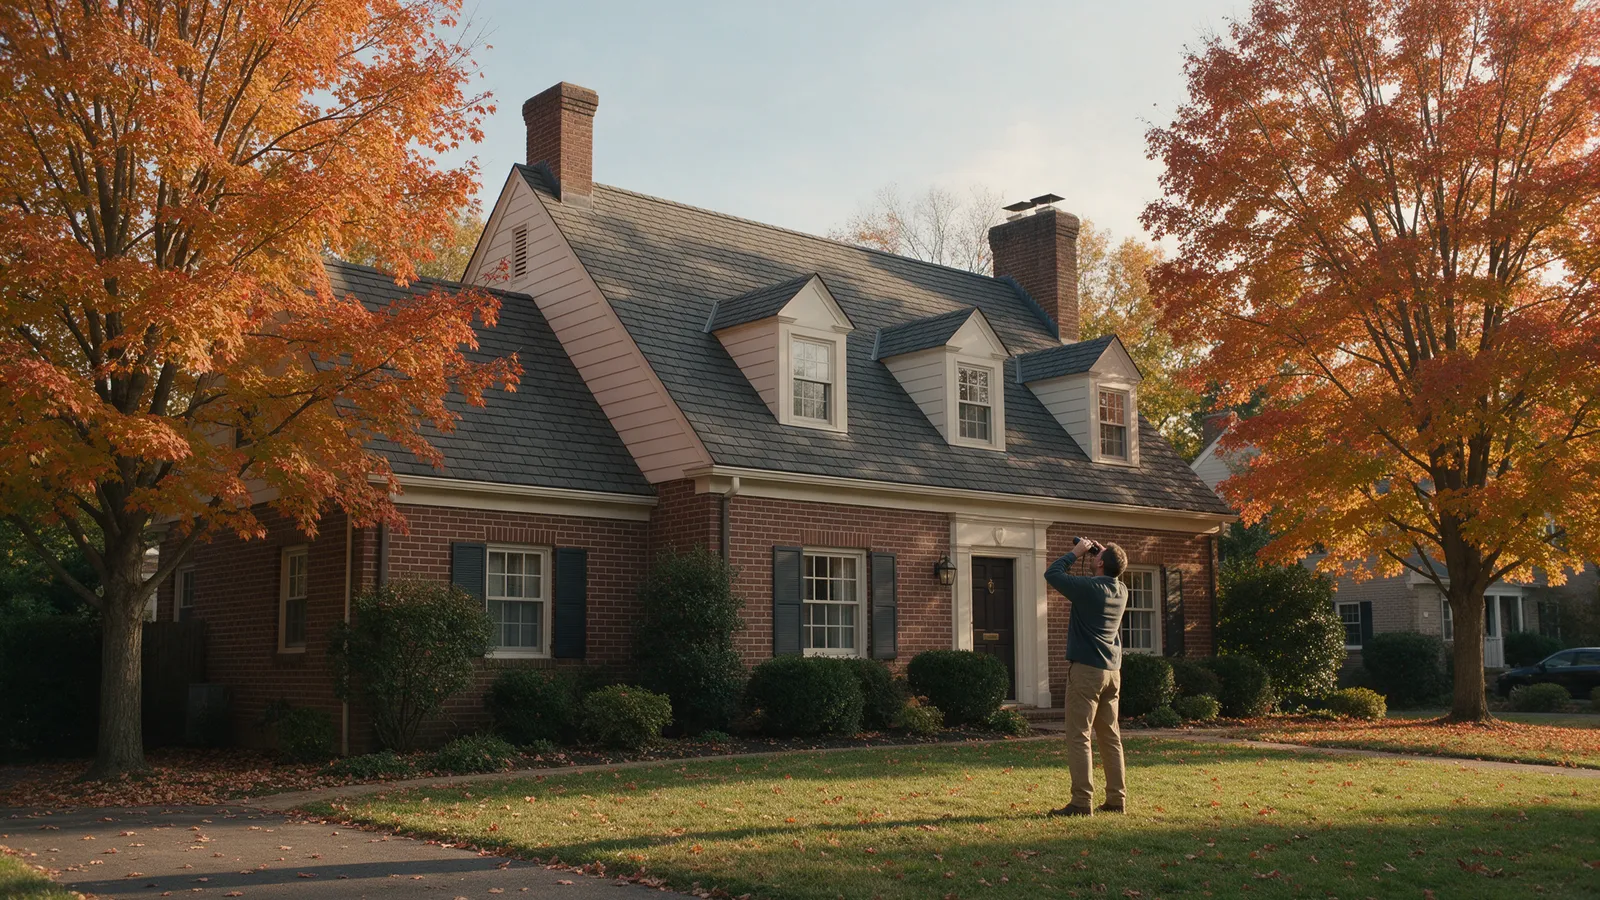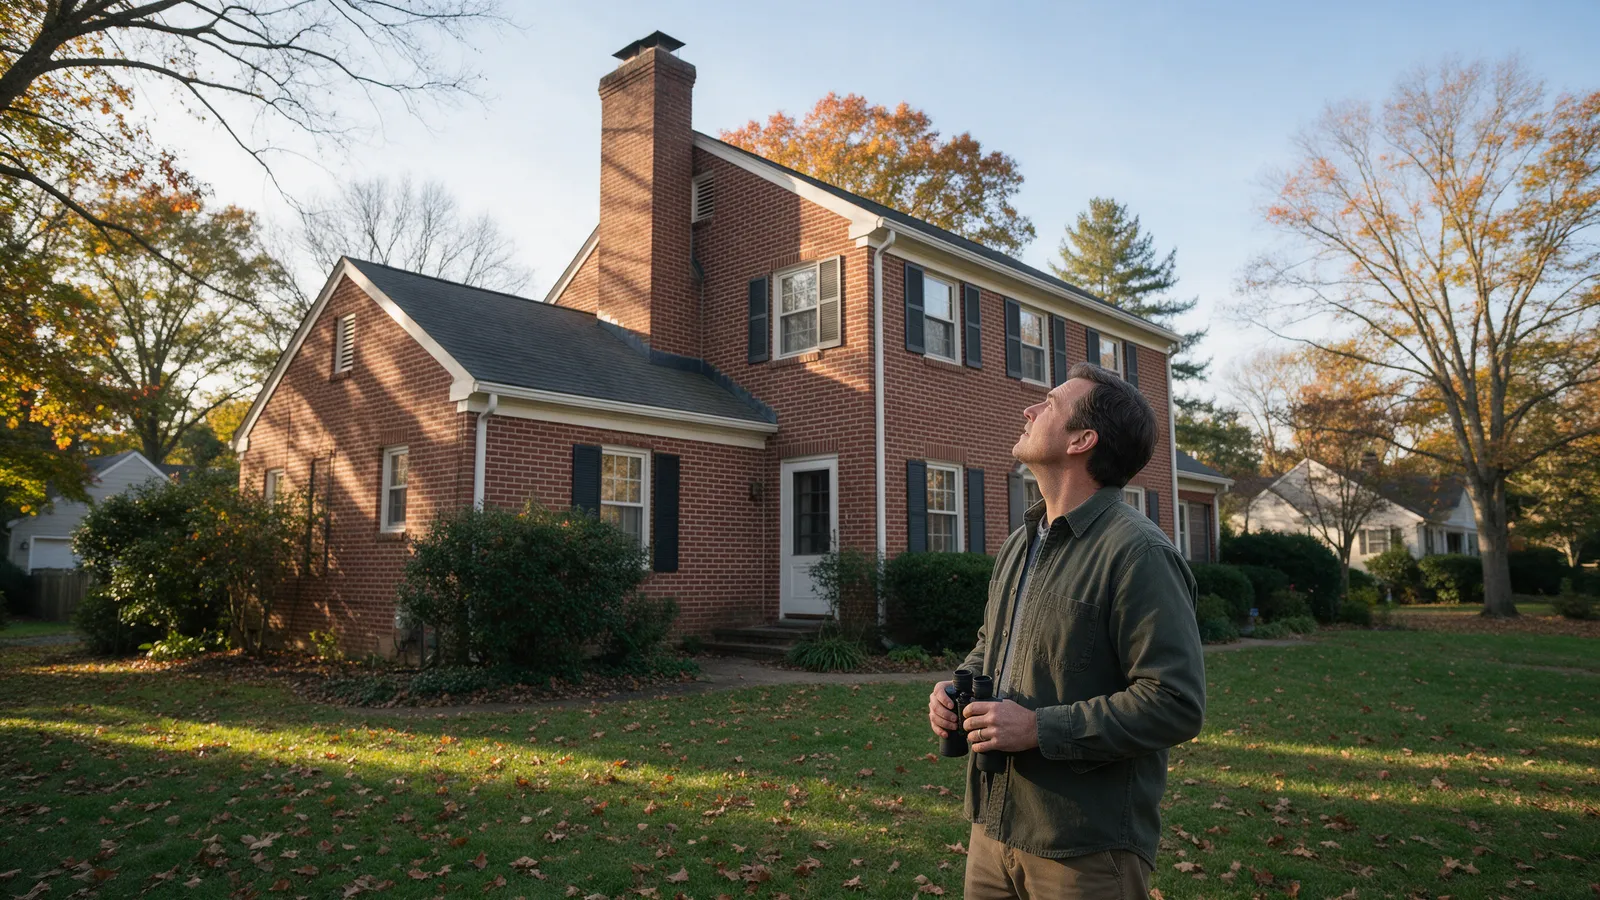
Your chimney is where your roof meets masonry, and that joint is one of the most common places water gets in. The leak usually starts at the flashing, the metal that seals the seam, and it can run for months before a ceiling stain shows up. Most of the warning signs are visible from your yard and your attic, so you can check both without going on the roof.
What you’ll need
- Binoculars
- A phone camera with zoom, plus a coin or ruler to show scale in photos
- A headlamp and a flashlight for the attic
- A notebook or phone notes app to log dates and what you see
- A tape measure, if you want to note the chimney’s width
Step 1: Know the two layers you’re looking for
Most brick chimneys use two layers of metal. Step flashing is L-shaped pieces tucked under the shingles, lapped one over the next up each side of the chimney. Counter flashing covers the top edge of the step flashing and is set into a groove cut in the mortar joint. From the ground, you can see the counter flashing and the mortar line it sits in. Prefabricated metal chimneys use a different system, so a mason or roofer should identify yours.
Step 2: Scan the mortar line with binoculars
Stand back at the far corner of your yard or across the street and look at the spot where the brick meets the roof. You’re looking for:
- A dark, wet-looking line along the brick at roof level, especially on the side that takes the most wind-driven rain
- Mortar that is missing, crumbling, or pulled back from the metal
- A visible gap between the metal and the brick
- Smooth, shiny caulk along the top edge of the metal. That is a past repair, and it means someone has already had trouble here.
Step 3: Check the metal for rust, lift, and missing pieces
Look for orange or brown streaks running down the brick below the metal. Streaks like that mean water has been running off the metal for a long time. Also look for:
- Bent, lifted, or curled edges
- Metal that has pulled away from the brick at a corner
- Nail heads that are pushed out, rusted through, or visibly loose
- A section that is missing, which can show up as bare brick or a dark gap
Step 4: Inspect the crown and the cap
The crown is the slab of concrete or mortar on top of the chimney, and the cap is the cover over the flue opening. Both are meant to shed water. From the ground, look for:
- Cracks running through the crown or out from the flue opening
- Brick faces that are flaking or breaking off, a condition called spalling
- A missing cap, or a cap with a visible gap
- A spark arrestor screen that is torn or gone, if you have one
Water that gets into a cracked crown can run down inside the flue and soak the masonry around it. A crown problem can cause a leak near the flashing even when the metal looks fine, so check both.
Step 5: Confirm it from the attic
Go into the attic on a dry day with a headlamp and find the chimney. Look at the framing and sheathing around it on every side. Don’t push insulation or stored boxes against the chimney or the flue. Combustible material needs clearance from masonry, so keep the space around it clear.
Look for:
- Dark stains or water rings on the sheathing or framing, on one or more sides of the chimney
- Damp insulation or soft, dark wood near the base of the chimney
- White, chalky deposits on the masonry inside the attic. That is efflorescence, and it shows water has moved through the brick.
- Old tide lines versus fresh, damp wood. Moisture that appears after a rain means the leak is active.
Use this table to match what you see to the most likely cause:
| What you see | What it usually means | What to do |
|---|---|---|
| Dark wet line along the brick at roof level, plus an attic stain on the same side | Step or counter flashing leak | Document it, then have a roofer reset or replace the flashing |
| Rust streaks down the brick below the metal | Metal has been shedding water for years | Plan a replacement before the next storm season |
| Caulk along the metal edge | A previous patch | Expect it to fail. Get a proper repair quote. |
| Cracks in the crown or flaking brick | Water entering the masonry | Have a licensed mason assess the crown and brick |
| Stain in the attic that is now dry, from an earlier rain | Old leak, possibly inactive | Photograph it and check again after the next heavy rain |
| Stain only after wind-driven rain | Water pushed under the flashing edge or cap | Look at the flashing and cap first, then review your storm prep |
Step 6: Log the timing
Write down the date, the weather, and where the stain sits. A leak that appears only in wind-driven rain points to flashing or the cap. A leak that shows up after snow and ice melt often points to a different problem, usually attic heat loss that causes ice dams along the chimney. A leak that appears during humid weather can be condensation. The guide to finding a roof leak from the attic explains how to tell these apart.
Take photos from the same spot each time, with a coin or ruler in the frame for scale. Dated photos show a roofer exactly what changed, and that can shorten the diagnosis.
Step 7: Skip the quick fixes that backfire
- Don’t seal the metal edge with silicone or tar. The sealant traps water behind the metal and cracks as the metal moves.
- Don’t pry or hammer the metal back into place. You will bend it further and crack the mortar around it.
- Don’t cover a leak with a sheet of plastic or a tarp and call it done. Tarps blow away in a nor’easter and can trap moisture against the masonry.
When to stop and call a professional
Chimney flashing sits on the roof, and the chimney rises above it. Any repair to flashing, the crown, the cap, or the mortar is roof-level and masonry work. Hire an insured roofer for flashing and shingle work, and a licensed mason for brick, mortar, and crown repair. Many roofers handle both, so ask before you call.
For the flue itself, call a certified chimney sweep. A CSIA Level 1 inspection is a visual check from the ground and accessible areas. A Level 2 inspection looks more closely at the flue and the chimney’s interior, and it is usually recommended when a Level 1 finds a problem.
Stop using the fireplace and call right away if you see smoke or soot in the room, notice scorched or discolored materials near the fireplace, or hear the flue making unusual noises. If you smell gas, leave the house and call your gas company from outside.
If the attic shows an active leak, start with our attic leak guide. Ice dams often show up on the same chimney, so review the ice dam prevention guide too. Before the next storm season, run through the storm-proofing checklist. When you are ready for a professional look, see our roofing services, the storm damage page, and the areas we serve.
Common questions
Can I fix chimney flashing with caulk?
Caulk can slow a leak for a while, but it is a patch, not a repair. Sealant bonds poorly to galvanized and painted metal, and it cracks as the metal expands and contracts through the temperature swings of a DMV winter. If the counter flashing is missing or was never set into the mortar joint, caulk on top will fail. A roofer or mason should reset or replace the flashing.
What is the difference between step flashing and counter flashing?
Step flashing is the L-shaped metal tucked under the shingles, with one piece lapping over the next up each side of the chimney. Counter flashing covers the top edge of the step flashing and is set into a groove cut in the mortar joint. Water should run down the shingles and step flashing and off the roof, with the counter flashing shedding it outward.
Do I need a chimney inspection if I don't use my fireplace?
Probably, yes. Flashing, the crown, and the cap can leak whether or not you burn a fire, and water damage often starts there. Most chimney safety groups recommend an annual inspection for a chimney in use. A chimney that is sealed off still needs its roof-side parts checked, and a roofer or mason can do that.
A note on safety
This guide is general information for homeowners, not a substitute for an on-site assessment. Anything that puts you on a roof, above a single story, or near power lines is work for an insured professional with fall protection.