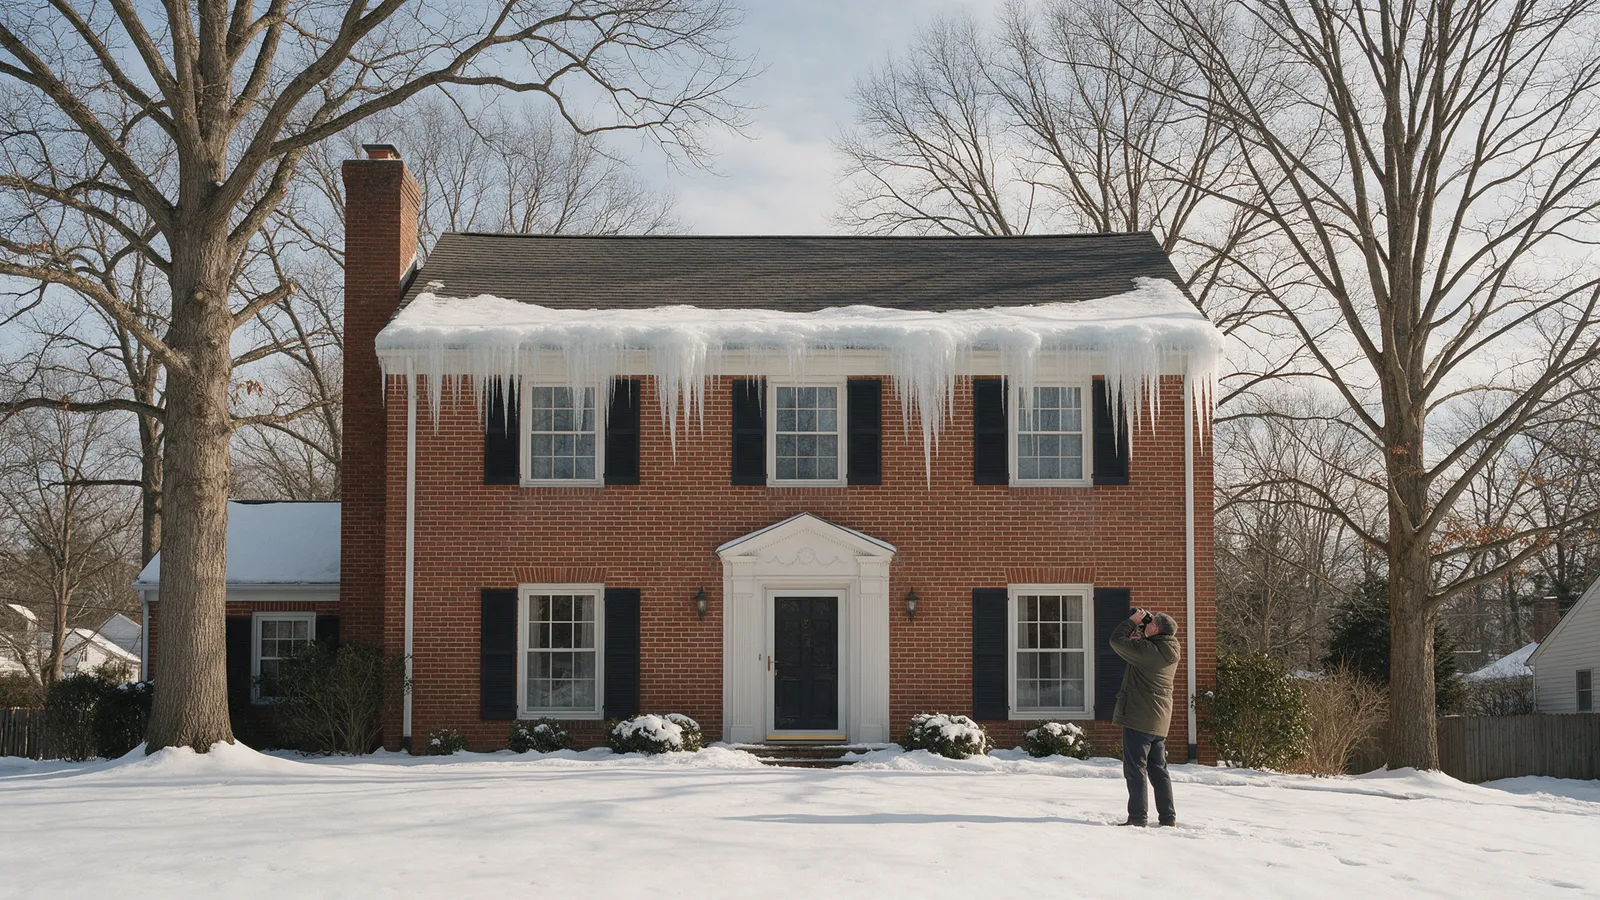
An ice dam is a ridge of ice along the bottom edge of a roof that traps melting snow behind it. That trapped water has nowhere to go but sideways and up, under the shingles, and into your ceilings and walls. The DMV doesn’t get New England winters, but one decent snow followed by a cold week is enough to do it, especially on older homes.
The good news: ice dams are mostly an attic problem, not a roof problem, and the most effective fixes happen indoors where you can work safely. Fall is the right time to do them.
Why ice dams form
Ice dams need three things at once:
- Snow on the roof.
- A warm upper roof. Heat escaping from the living space warms the roof deck and melts the snow from underneath.
- A cold roof edge. The overhang at the eaves sits outside the heated house, so it stays below freezing. Meltwater running down refreezes there, and the ridge of ice grows with every melt cycle.
Building Science Corporation’s research on ice-dammed homes points to the same culprits again and again: warm air leaking into the attic through gaps around ductwork, plumbing and wiring holes, recessed lights, and attic hatches, plus thin or missing insulation. In plain terms, if your attic is warm, your roof is warm.
That’s why DMV homes are vulnerable in specific ways. Older rowhouses and colonials often have little insulation and plenty of gaps in plaster ceilings. Mid-century ramblers frequently have ductwork running through the attic. Cape Cods have knee walls and sloped ceilings that are hard to insulate. And our freeze-thaw winters, where it hits 40 one afternoon and 20 that night, give ice plenty of chances to build.
Ice dam or something else? A quick diagnosis
| What you see | Likely cause | What to do |
|---|---|---|
| Thick ice ridge at the eaves, icicles, and snow melted off the upper roof while neighbors’ roofs are still white | Heat loss into the attic | Air seal and insulate (Steps 2–4) |
| Icicles only, no ice ridge, roof evenly snow-covered | Normal melt from sun, usually harmless | Knock down icicles from the ground for safety |
| Bare stripes or patches in the snow over specific spots | A concentrated heat leak (bath fan, recessed lights, chimney chase, attic hatch) | Find and seal that spot from the attic |
| Water stain on an exterior wall or ceiling near the eaves during a cold spell | Ice dam backing water under shingles | Call a roofer; check insulation once it thaws |
| Frost or damp sheathing across the whole attic in winter | Moist indoor air leaking into the attic | Air seal; check bath fans vent outdoors |
What you’ll need
- Binoculars for checking the roof from the ground
- A headlamp and boards or plywood to kneel on across the attic joists
- Dust mask or respirator, gloves, safety glasses, long sleeves
- A tape measure or ruler to check insulation depth
- Canned low-expansion spray foam and fire-rated sealant or caulk
- Foam ventilation baffles (only if you’ll be adding insulation)
- A phone for photos
Step 1: Read your roof from the ground
Walk around the house with binoculars after the next snow, a day or two in. Compare your roof to the neighbors’. If your snow has melted off the upper roof while the lower edge is crusted with ice and icicles, you’re losing heat. Bare patches over a bathroom or a ring of melted snow around the attic hatch area point to specific leaks.
Do this now in fall too: look at the roof edge for stains, peeling paint on the fascia, or rot on the soffits. Those can be signs of past ice dam water. Photograph anything you find.
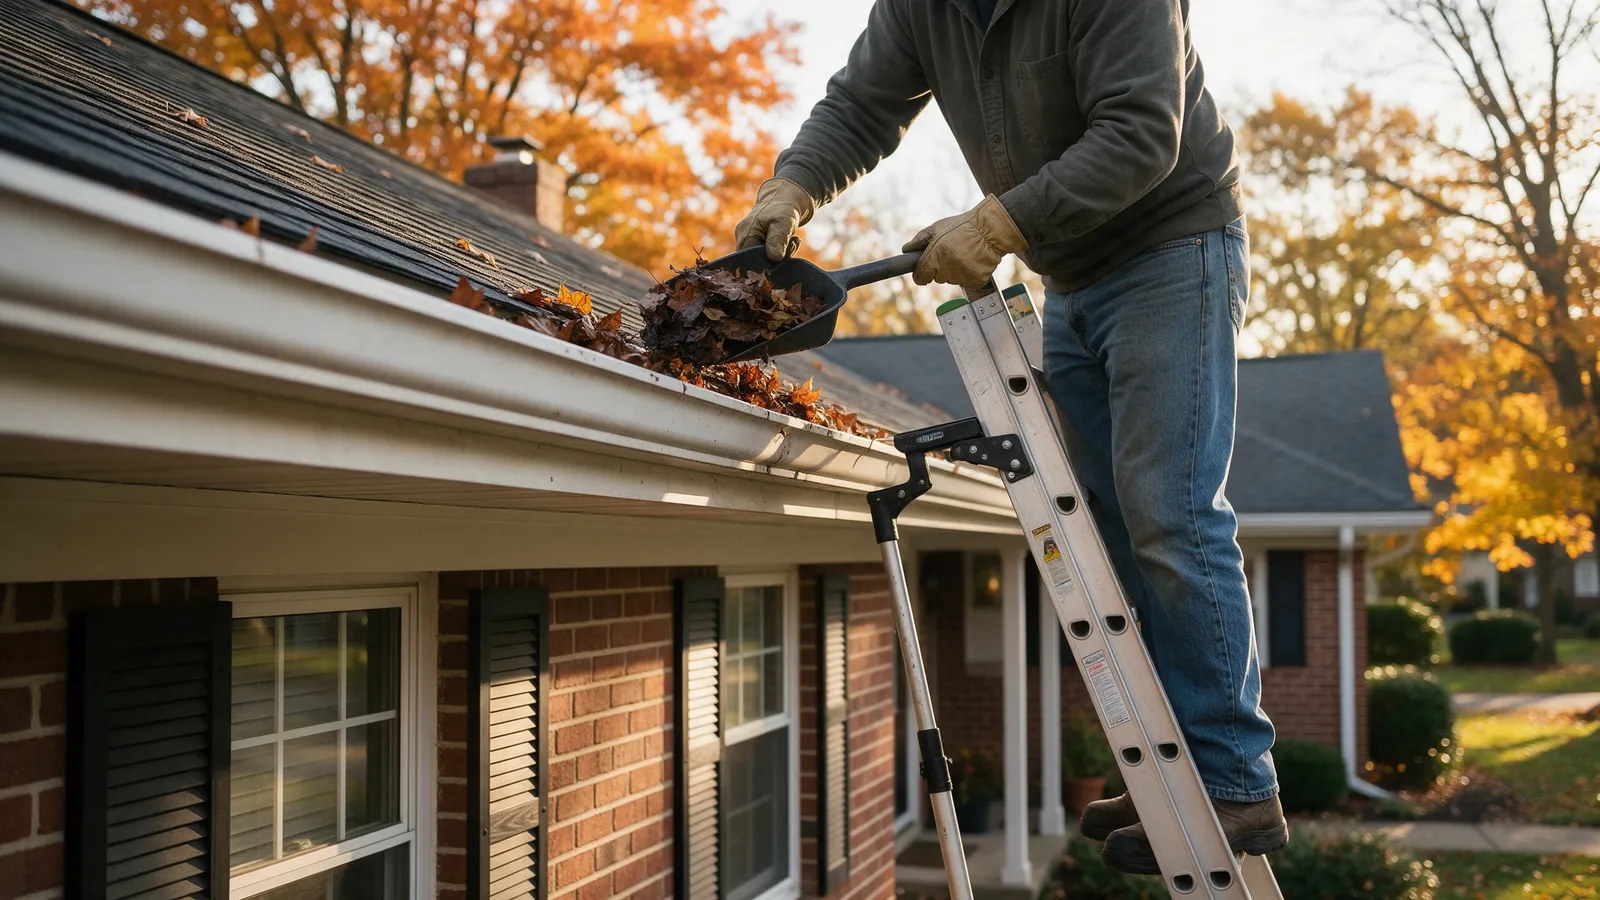
Stay on the ground. Never climb onto a roof, and never lean a ladder against icy gutters.
Step 2: Find the air leaks from the attic
Go into the attic on a cool day and look for the dark spots. Insulation acts like a filter, so the fibers above a leak often turn gray or black from dust carried through by moving air. Check these common DMV leak points:
- Gaps around plumbing vent pipes and wiring holes in the top plates of walls
- Recessed can lights poking up into the attic
- Bath and kitchen fans and their ducts
- The attic hatch or pull-down stairs
- Chimney chases and gaps where framing meets masonry
- Duct boots and any ductwork running through the attic
- Open tops of interior walls and dropped soffits over kitchen cabinets
Step only on joists or boards across them. If you see damaged wiring, smell burning, or find knob-and-tube wiring (common in pre-1940s DC homes), stop and call an electrician before disturbing anything.
Step 3: Seal what you can safely reach
Seal small gaps around pipes and wires with low-expansion spray foam. Use foam rated for the job and keep it away from anything hot.
Around chimneys and flues, use only fire-rated sealant and metal flashing, never regular foam. Many codes require a clearance gap between combustibles and a chimney, and that gap gets closed with sheet metal and high-temperature sealant, not insulation.
Weatherstrip the attic hatch and add a rigid foam cover on the attic side. It’s one of the easiest wins in the house.
Leave recessed lights to a pro unless they’re marked IC-rated and airtight. Older non-IC cans can overheat if buried in insulation. An electrician can replace them or install approved covers.
Step 4: Check insulation depth and coverage
Measure the insulation in several spots, especially near the eaves. A common problem is insulation that thins out or stops short where the attic floor meets the outside wall, which is exactly where the roof needs to stay cold. Look for:
- Bare spots or areas where insulation has been pushed aside
- Insulation that’s matted, wet, or packed down
- Depth well below the top of the joists in an older home
For a target, look up the ENERGY STAR recommended attic levels for your climate zone and compare. If you’re well short, adding insulation is usually worth it for energy savings alone, and it directly attacks ice dams. Seal air leaks first; insulation on top of an unsealed ceiling won’t stop warm air.
Step 5: Make sure the attic can breathe
Check that air can get in at the soffits and out near the ridge. From inside the attic, you should see daylight or vent openings at the eaves. If insulation is stuffed into the soffit area and blocking airflow, the fix is foam baffles stapled between the rafters to hold insulation back from the vents.
Ventilation carries away the heat that does sneak into the attic, but research shows it can’t make up for big air leaks. Treat it as the third piece, after sealing and insulating.
Also confirm that bath and dryer vents run all the way outside, not into the attic. Ducts that dump warm, moist air into the attic are a classic cause of both ice dams and frost.
Step 6: Plan for the next snowstorm
Even with a well-sealed attic, a big storm can still build ice. A safe winter routine:
- Use a roof rake with a soft blade from the ground to pull snow off the lowest few feet of a one-story roof section after heavy snow. Stand well back so snow doesn’t slide onto you, and keep it clear of power lines. Skip it on two-story roofs.
- Knock down large icicles from the ground over walkways and doors.
- Skip the hammer, shovel, or ice pick. Chipping at ice gouges shingles and gutters and causes injuries.
- Never use rock salt on the roof. It corrodes metal and kills plants below.
Heat cables along the eaves can keep a drainage path open on problem spots, but they treat the symptom, use electricity all winter, and need a proper outdoor GFCI-protected circuit. They’re worth discussing with a roofer and electrician, not a substitute for fixing the attic.
When to stop and call a professional
Call an insured pro if:
- Water is coming inside during a freeze. A roofer can remove the ice with low-pressure steam, which won’t damage shingles the way chipping does.
- The ice dam is on a two-story roof or anywhere you can’t reach from the ground or a one-story ladder with the 4-to-1 setup and a stabilizer.
- You find wiring problems, knob-and-tube, or non-IC recessed lights (electrician).
- Your attic has vermiculite insulation, which may contain asbestos. Don’t disturb it.
- You’re re-roofing. Ask your roofer about ice barrier membrane at the eaves. Model building codes require it in areas with a history of ice dams, and requirements vary by jurisdiction, so the roofer and your local building department can tell you what applies.
If you have water stains near the eaves or a roof that needs attention before winter, our roofing team can inspect it from the ground up. Leaky gutters make ice dams worse, so see our gutter services and our fall gutter and roof check before the first freeze. If a leak has already shown up, start with how to find a roof leak from your attic, and check the areas we serve across DC, Maryland, and Northern Virginia.
Common questions
Do ice dams really happen in the DC area?
Yes, though less often than in New England. They need a stretch of snow on the roof followed by days when it stays below freezing outside while heat from the house warms the upper roof. The DMV gets that combination in most snowy winters, and older homes with thin attic insulation are the most likely to see it.
Should I put rock salt on my roof to melt an ice dam?
No. Rock salt corrodes metal gutters and flashing and can kill the plants below. A common, gentler stopgap is a nylon stocking filled with calcium chloride ice melt laid across the dam to cut a drainage channel, placed only from the ground or a safe one-story ladder position. Even calcium chloride can wear on gutters with heavy use, so treat it as a short-term fix.
Will more attic vents stop ice dams?
Ventilation helps carry away heat that gets into the attic, but it is only one part of the fix. Building science researchers consistently point to air leaks from the house into the attic as the main driver. Seal those leaks and add insulation first, then make sure air can move from the soffits to the ridge.
Does homeowners insurance cover ice dam leaks?
Many policies cover sudden interior water damage caused by an ice dam, but coverage and deductibles vary, and the cost of fixing the underlying insulation problem is often treated as maintenance. Photograph the ice and the interior damage, limit further damage, and call your insurer to ask how your specific policy handles it.
A note on safety
This guide is general information for homeowners, not a substitute for an on-site assessment. Anything that puts you on a roof, above a single story, or near power lines is work for an insured professional with fall protection.