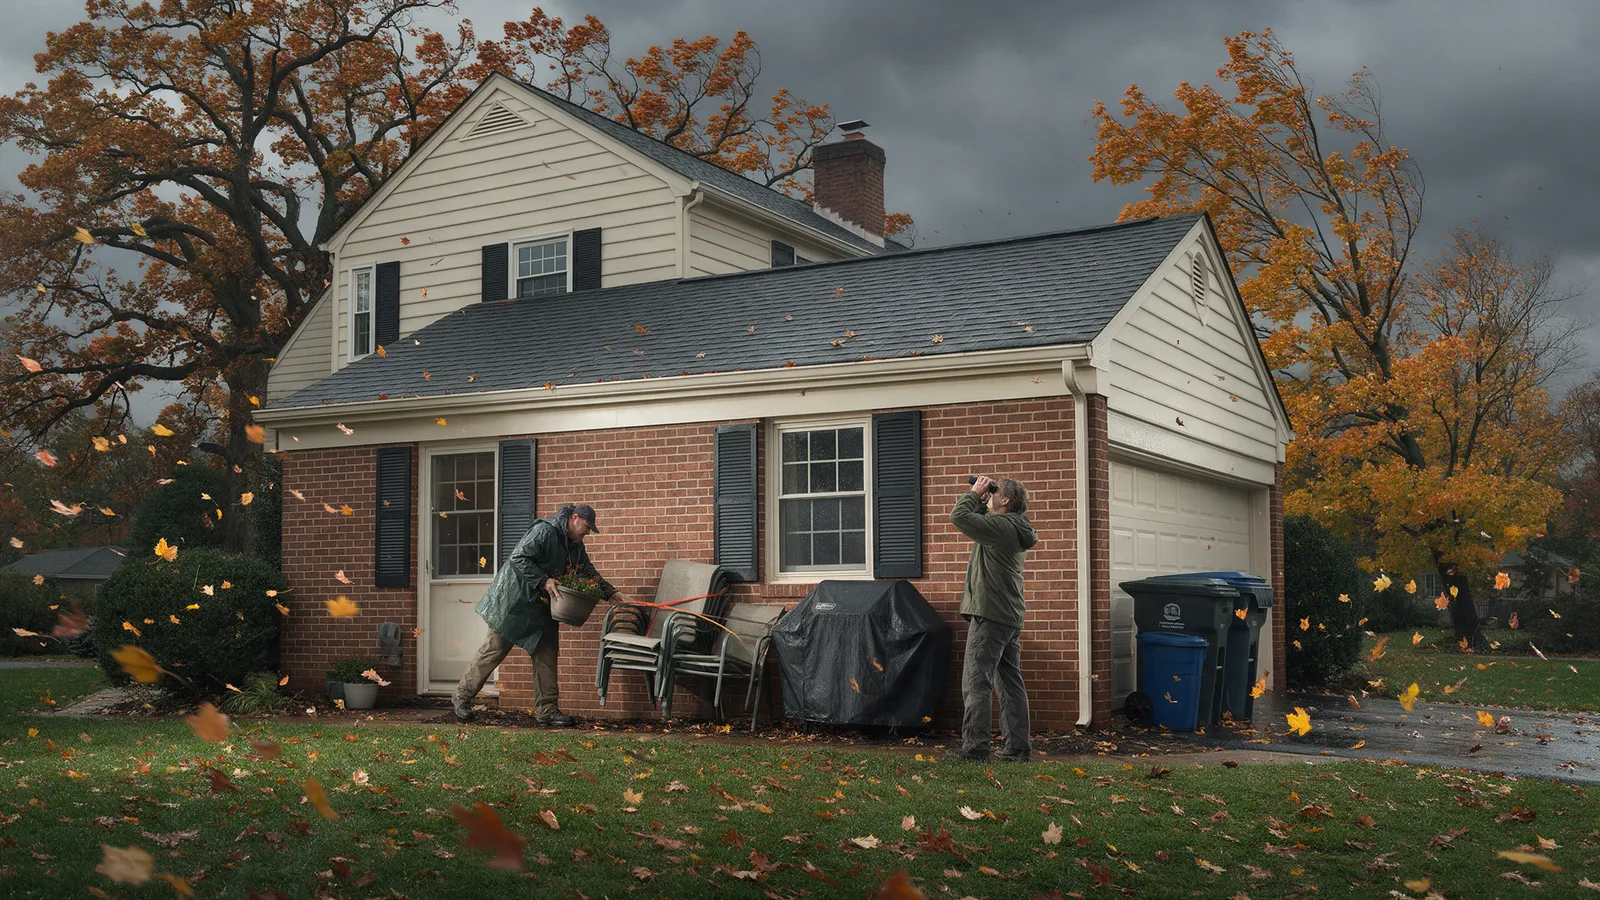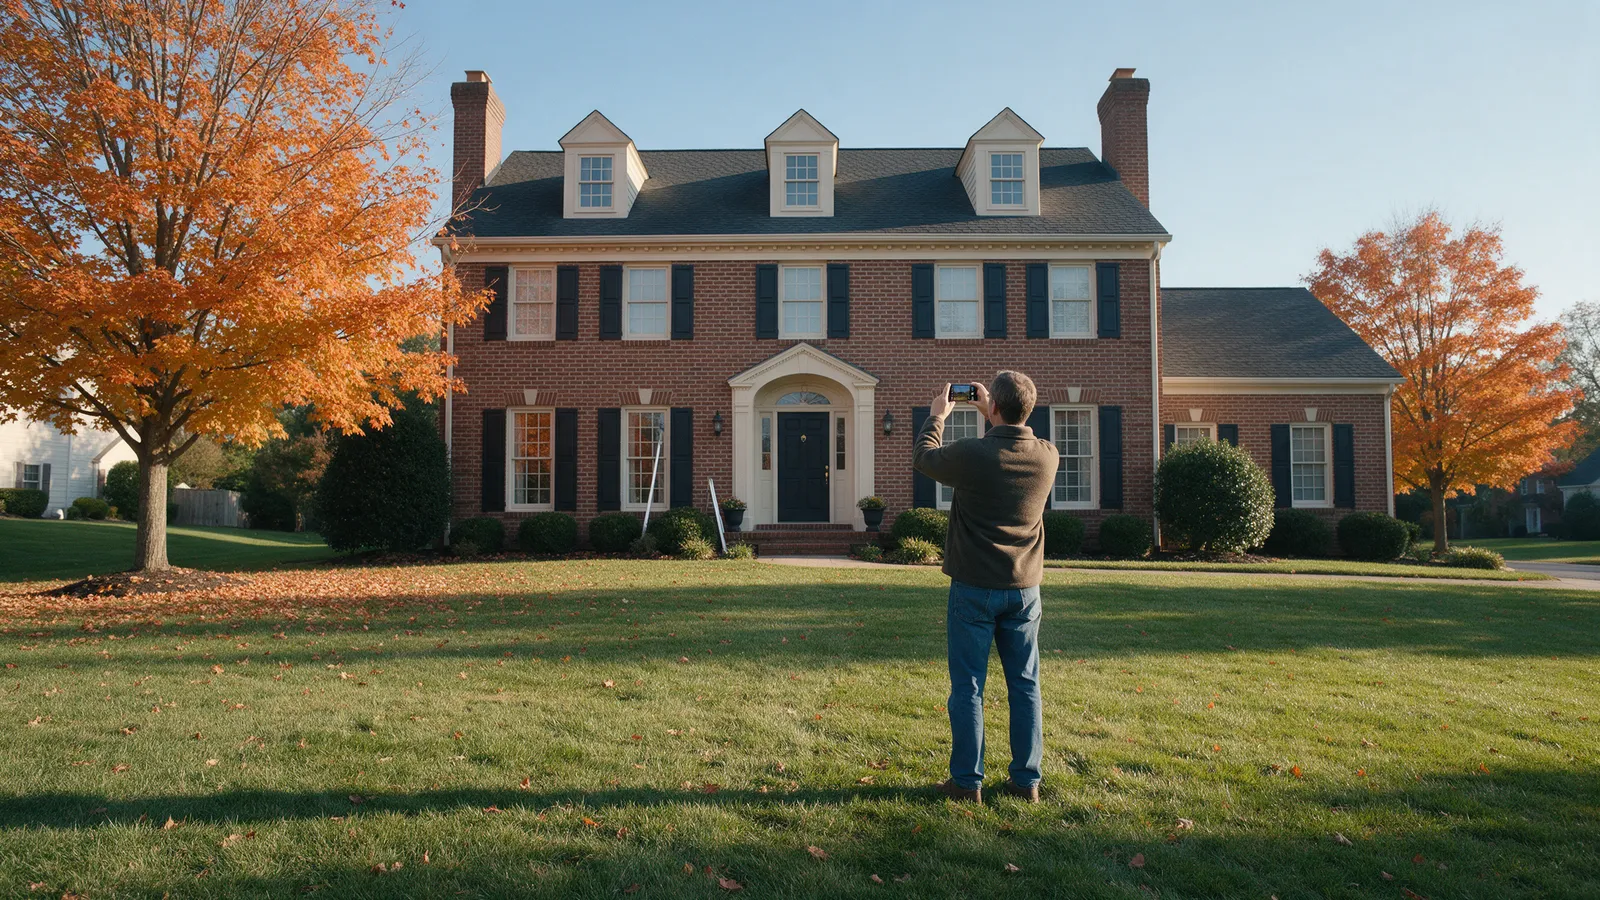
Nobody photographs a roof that looks fine. Then a nor’easter or a July thunderstorm rolls through, you file a claim, and the adjuster asks a fair question: what did it look like before? An hour with your phone this weekend answers that question for the next ten years.
Everything below is done from the ground, from windows, or from a one-story ladder at most. Nobody needs to go on a roof to build this record.
What you’ll need
- A phone with a working camera (a zoom of 3x or more helps)
- Binoculars, for the roof and upper walls
- A notebook or a notes app for a simple log
- A cloud account or external drive for backup
- Your insurance declarations page, so you know what you are covering
- Optional: a chalk marker or a sticky note with the date, held in a few frames
Step 1: Pick a good day and set up your phone
Shoot in even daylight. A bright overcast morning is ideal. Harsh midday sun throws shadows across shingle edges and hides cracks, and low evening sun makes siding look wavy. Skip rainy days, since wet surfaces hide staining.
Turn on date and location information in your camera settings so every photo carries a time stamp and the address. Some insurers and disaster-assistance reviewers ask for exactly this kind of date and location detail when they try to establish a property’s condition before a loss. Do not edit, filter, or crop the originals; save any edited copies separately.
Shoot more than you think you need. Storage is cheap and a missing angle is not.
Step 2: Start with the four corners and the full elevations
Stand back far enough to get each whole side of the house in one frame, from the yard or the sidewalk. Take one photo from each corner showing two walls and the roof line. For a rowhouse, that means the front and the back, plus any side wall visible at an end unit.
These wide shots matter most. A tight close-up of a shingle proves little by itself. As one roofing-industry guide puts it, a close-up does not show which slope it came from or when it was taken, so tie every detail to a wide shot of the same area.
Step 3: Document the roof from the ground
Use binoculars or your phone’s zoom, and walk the full perimeter. For each slope, take:
- One wide shot of the whole slope
- Close shots of the ridge, the edges, and the valleys
- Every penetration you can see: chimney, plumbing vent pipes, attic vents, skylights
- Any visible flashing at the chimney or where a roof meets a wall
Note your roof’s apparent age and material in your log if you know them, along with the date of any past repair or replacement. If you have the invoice or warranty paperwork, photograph that too.
If you see something worrying, such as lifted shingles, exposed nails, or a sagging line, do not climb up to look. Photograph it from where you are and book an inspection. Our guide to finding a roof leak from the attic covers the inside half of this process.
Step 4: Gutters, downspouts, and fascia
Photograph each run of gutter from the ground at an angle, so you can see whether it is straight and attached. Capture:
- The gutter-to-fascia joint at several points
- Each downspout, top to bottom, and where it discharges
- Any dents, sags, or separated seams
- The fascia and soffit boards, since rot often shows first here
Take a couple of photos of the water line on the ground after a normal rain if you can, showing where runoff lands. Our downspout and grading guide explains why that matters.
Step 5: Siding, trim, and masonry
Work wall by wall. Take one wide shot and then a few closer shots every few feet, so a crack, dent, or stain can later be located precisely.
| Surface | What to capture | What it can show later |
|---|---|---|
| Vinyl siding | Panel seams, corners, any existing cracks or warping | Whether a dent or crack pre-dates a storm |
| Fiber cement or wood | Paint condition, joints, bottom edges near the ground | Pre-existing rot, peeling, or moisture staining |
| Brick and mortar | Mortar joints, chimney crown, any existing cracks | Whether cracks existed before settling or impact |
| Trim and caulk lines | Window and door trim, corner boards | Condition of seals before water entry |
If your siding has a manufacturer stamp or a brand mark visible on a panel edge, photograph it. It helps identify the product if a section ever needs to be matched.
Step 6: Windows, doors, and the extras
Photograph every window from outside, including the sill, the glass, and the trim around it. If you can see failed seals, such as fogging between double panes, capture it and note it in your log.
Then cover the items people forget:
- Garage door and its trim
- Exterior light fixtures, railings, and the front steps
- Deck, fence, and shed, if they are on your policy
- Mature trees close to the house, especially limbs overhanging the roof
Trees matter because limb damage is a common storm claim, and a photo of a healthy tree beside the house reads very differently from one taken of the same tree after it came down.
Step 7: Name, back up, and log
Rename the files so they sort sensibly, for example 2026-10-22_front_elevation. Keep one folder per year.
Back up to a second location the same day. Regulators who publish home-inventory advice generally recommend keeping a copy away from the home itself, and the same logic applies here. If the house is damaged, you may not have your phone or computer.
In a one-page log, record the date, who took the photos, the weather, and anything you noticed. Add each repair or replacement with its date and contractor as it happens. Note that your insurer may have its own requirements, so ask your agent what documentation they want to see.
How to use the photos after a storm
If a storm hits, photograph the damage before anything is moved or repaired, from the same angles as your baseline set so the two are easy to compare. Keep a running log of every call with the insurer: who you spoke to, the date, and what was said. Save receipts for any temporary protection, such as tarping or boarding, that a professional puts in place to prevent further damage.
For the roof itself, leave the close-up work to an insured roofer, who can document the damage safely and produce a written report.
When to stop and call a professional
Your photos are only a record, and some things need an expert, not another picture. Call an insured professional if:
- Anything on the roof looks lifted, missing, cracked, or sagging
- You see daylight, staining, or damp insulation in the attic
- Flashing at a chimney, wall, or skylight has pulled away
- A wall bulges, a step sinks, or a crack in brick is wider than a hairline
- A tree limb is touching the roof or hanging near a power line (call the utility, not a saw)
Never climb onto a roof, work above one story on a ladder, or go near power lines to get a better angle. A photo is never worth the fall.
Keep the record going
Repeat this walkaround every fall, after any repair, and after every major storm. If your photos turn up something worrying, the next step is a professional look at your roofing, siding, or gutters. If a storm has already hit, our storm damage page explains how we document and repair it, and the nor’easter checklist will help you prepare before the next one. We work across the DC, Maryland, and Northern Virginia service areas, so you can book an inspection wherever you live.
Common questions
Why photograph my house before there is any damage?
After a storm, an insurer may question whether the damage is new or was already there. Dated photos of your roof, siding, and gutters from before the storm are a simple baseline that shows what the house looked like. They do not guarantee a claim is paid, but they give you something concrete to point to.
How often should I update the photos?
A common guideline is once a year, plus after any repair, replacement, or major storm. Fall is a good time in the DMV because the leaves are coming down and you can see the roof line, gutters, and siding clearly before winter.
Do I need to get on the roof to photograph it?
No, and you should not. Use the ground, a zoom lens or binoculars, an upstairs window, or a drone only if you are legally and safely able to fly one at your address. For close-ups of the roof surface, hire an insured roofer to document it.
Where should I store the photos?
Keep the originals in at least two places, such as your phone and a cloud account or external drive, and keep the files unedited so the date information stays intact. Regulators who publish home-inventory guidance commonly recommend keeping a copy somewhere other than the house itself.
A note on safety
This guide is general information for homeowners, not a substitute for an on-site assessment. Anything that puts you on a roof, above a single story, or near power lines is work for an insured professional with fall protection.