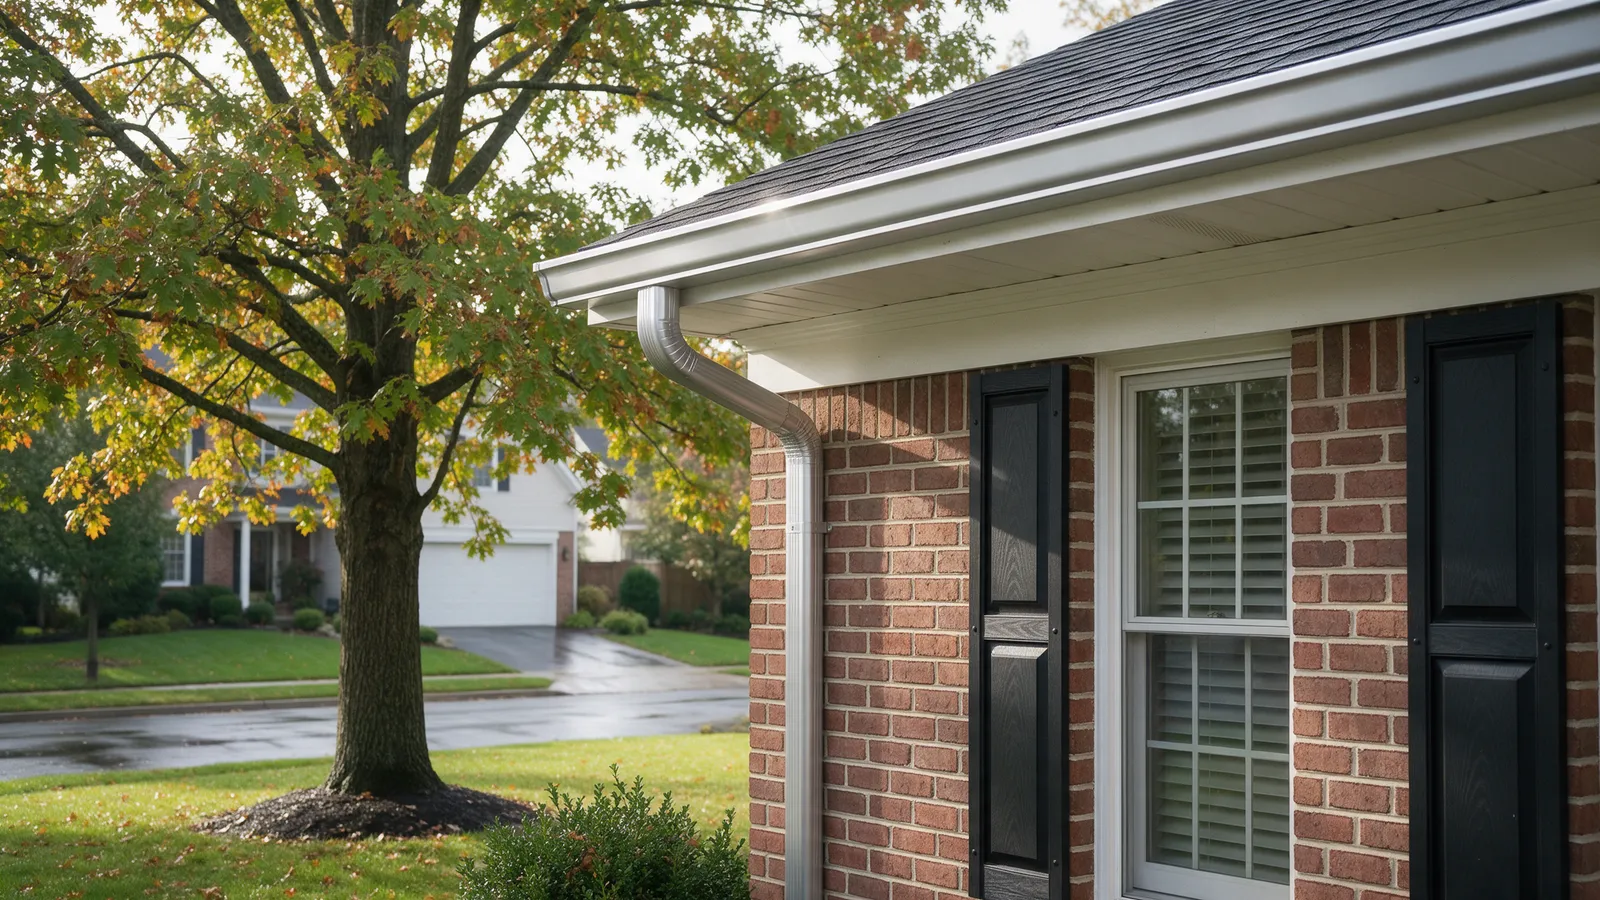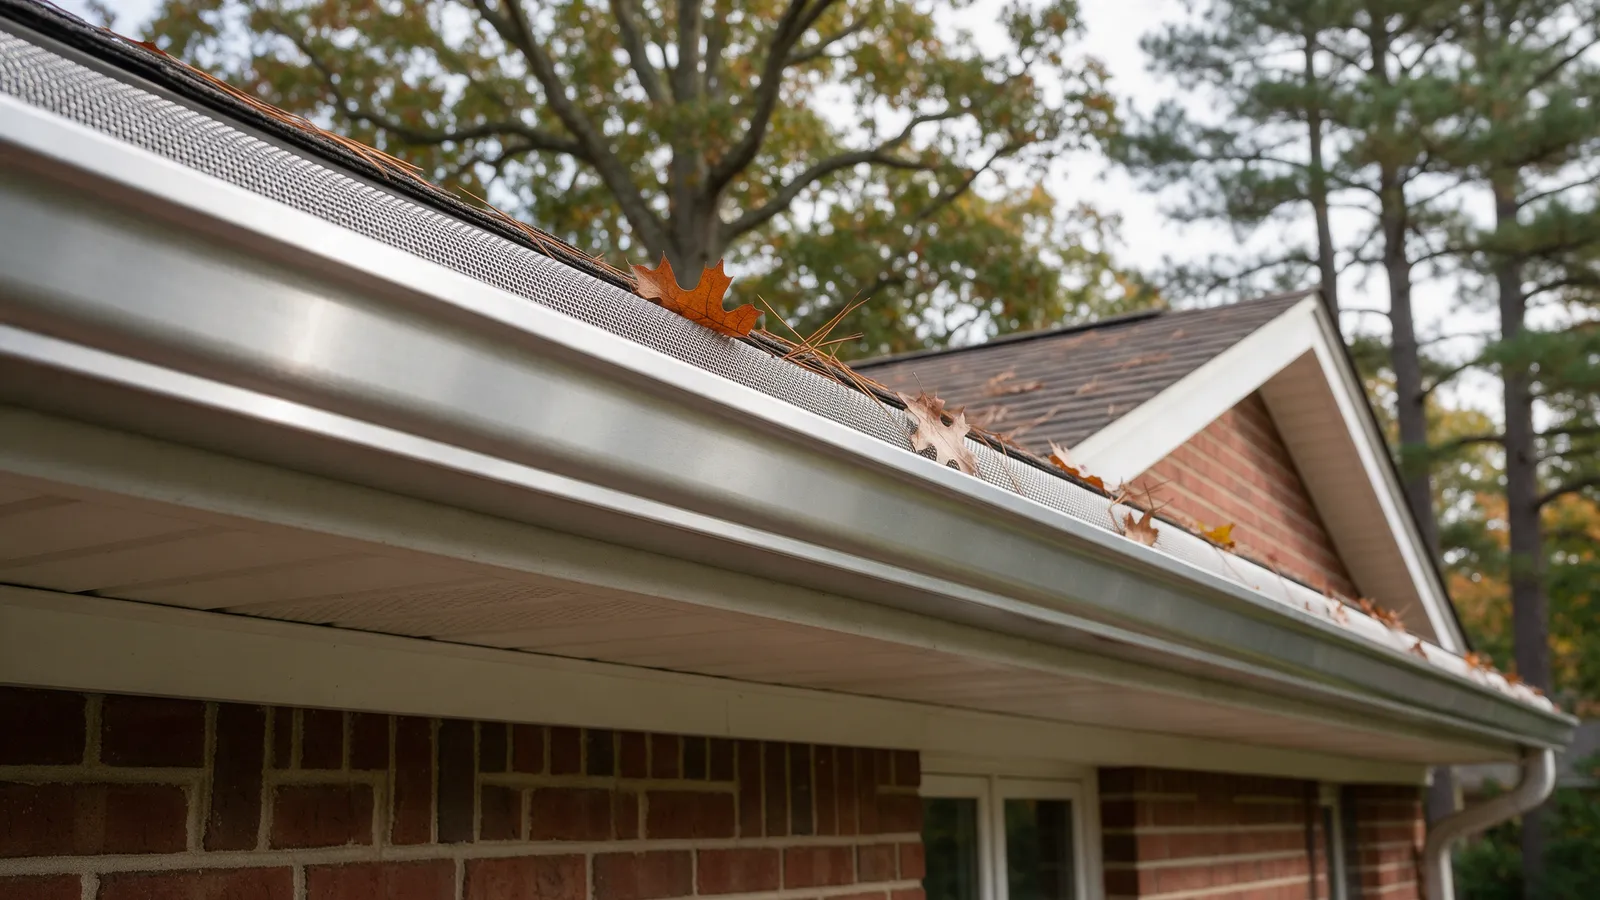
If your basement gets damp after every big storm, the problem often starts on the roof, not in the basement. A typical roof sheds hundreds of gallons in a single good rain, and every bit of it funnels into a few downspouts. If those downspouts dump water at the base of the wall, and the ground slopes toward the house, you have built a small river that ends at your foundation.
The good news: the first two fixes are cheap, do not involve a ladder, and can be done in an afternoon.
Why this matters more in the DMV
For a sense of scale, rainwater-harvesting references put the runoff at about 623 gallons per inch of rain for every 1,000 square feet of roof. A nor’easter or a summer thunderstorm can drop more than an inch in a day.
Then add local conditions:
- Clay-heavy soil in much of the region holds water against the foundation instead of letting it drain away.
- Older brick and block foundations in rowhouses, colonials, and ramblers are porous. Water that sits against them finds a way in through mortar joints, cracks, and pipe penetrations.
- Settled backfill. The soil dug out and replaced when a house was built tends to sink over decades, so a yard that once sloped away can end up sloping back toward the house.
- Freeze-thaw winters make wet soil push against walls and open small cracks a little more each year.
What you’ll need
- Downspout extensions sized to your downspout (most houses use 2x3-inch or 3x4-inch). Rigid vinyl or aluminum sections, flexible corrugated extensions, or flip-up hinged styles all work. Basic extensions run from a few dollars to around $20 at home centers, but check current prices.
- Splash blocks (concrete or plastic)
- A few sheet-metal screws and a cordless drill, or the clips that come with the extension
- A 4-foot level, a straight 10-foot board or a string line, a tape measure, and stakes
- A shovel, garden rake, and hand tamper
- Fill soil with some clay content (not sand, not mulch, not bagged potting mix)
- A garden hose
Step 1: Watch the water in a real rain
Go outside during a steady rain with an umbrella and a flashlight and look at every downspout. You are looking for:
- Water pooling within a few feet of the wall
- Water running back toward the house
- Water shooting over the gutter edge instead of going down the spout (a clog or undersized gutter)
- Puddles at a downspout that goes into a pipe in the ground (often a clogged or broken underground line)
Take photos. Then go to the basement after the rain and note which walls show damp spots or efflorescence (white, chalky deposits). Usually the wet wall lines up with the worst downspout outside.
Do this from the ground only. If water is overflowing gutters on a second story, that is a cleaning or repair job for an insured pro, not a reason to climb.
Step 2: Clear the downspout from the bottom
Disconnect the bottom elbow and run a garden hose up into the downspout from below. If the water backs out, there is a clog. Push the hose up farther or use a plumber’s snake from the bottom. Do not climb above a single story to clear it from the top.
If your gutters themselves are full, see our fall gutter and roof check, which covers one-story gutter cleaning safely.
Step 3: Add extensions to move water out
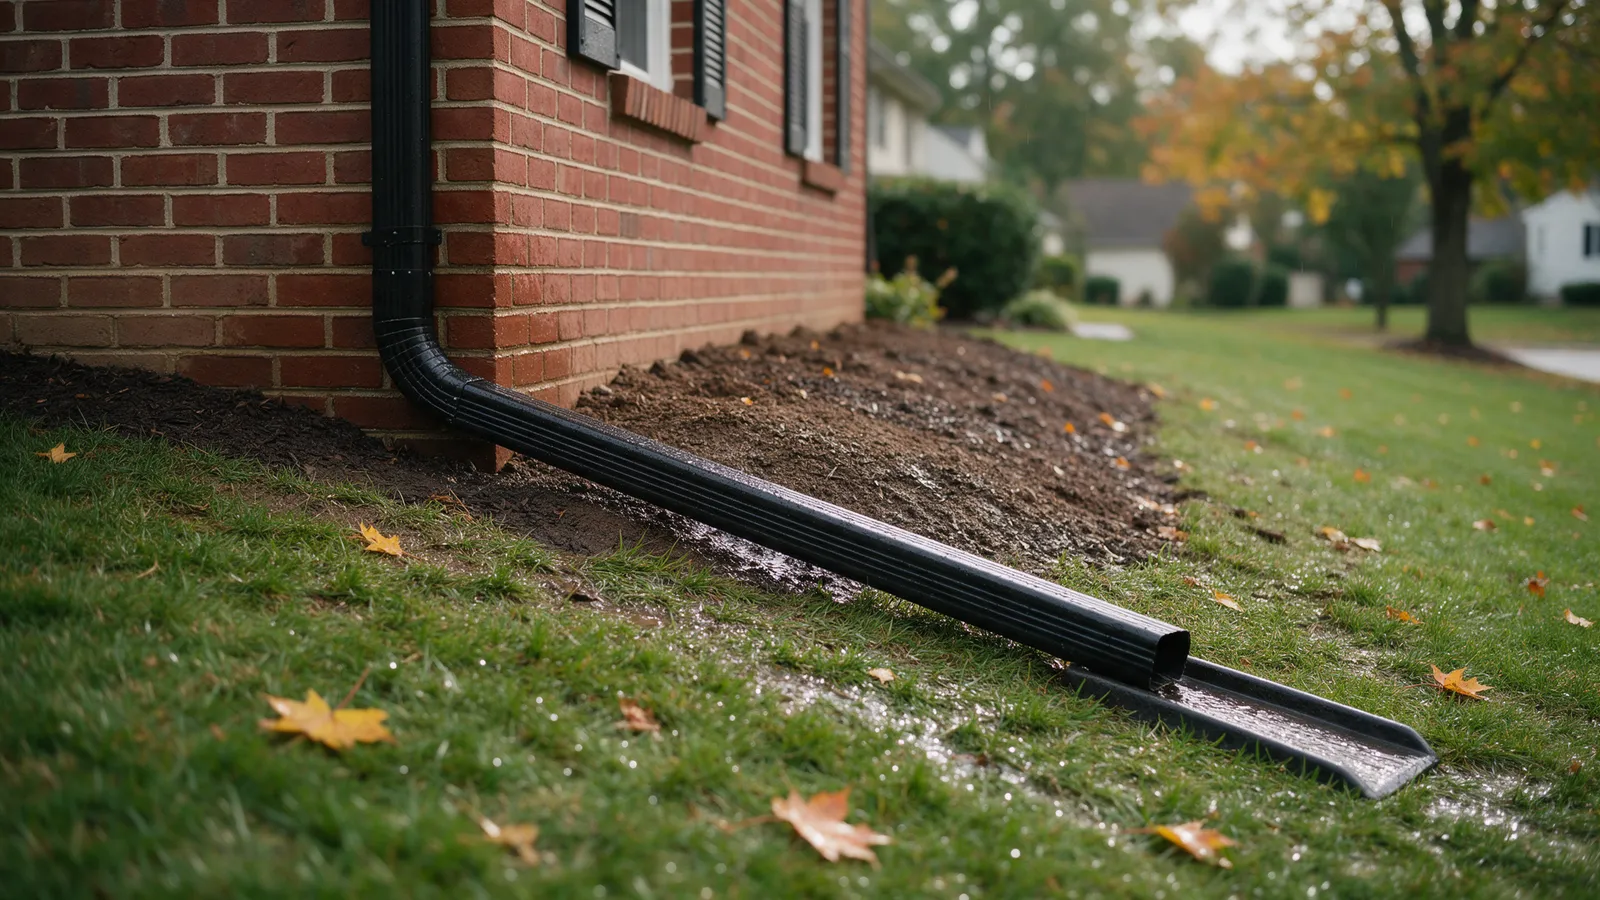
Attach an extension to every downspout that drains within a few feet of the house. A common guideline is to discharge water at least 4 feet from the foundation, with 6 feet or more preferred. In heavy clay, longer is better.
Tips that save headaches:
- Fit the extension over the elbow, not inside it, so water flows into the extension rather than leaking out the joint.
- Secure the joint with two short sheet-metal screws or the supplied clips. Wind and mowers knock loose extensions off.
- Point it toward ground that drops away, such as a lawn, a garden bed, or a swale. Never aim it at your neighbor’s foundation, a walkway that freezes, or a driveway that runs back to your own garage.
- End it on a splash block so the water does not dig a hole.
- Use a flip-up hinge where the extension crosses a path or gets in the way of the mower.
Which extension type fits your yard?
| Type | Best for | Watch out for |
|---|---|---|
| Rigid vinyl or aluminum section | Straight runs across lawn or beds, 4 to 10 feet | Gets kicked or mowed over; screw it on |
| Flexible corrugated | Bending around shrubs and corners | Ribs trap leaves and grit; sags hold water |
| Flip-up / hinged | Across walkways and mowing paths | Someone has to put it back down |
| Roll-out sleeve | Spots where you can’t leave anything permanent | Short reach; flimsy in high wind |
| Buried pipe to daylight or a dry well | Rowhouse yards and tight lots with no room | Real excavation; call Miss Utility first and consider a pro |
Step 4: Check the grade around the foundation
Extensions only help if the ground where the water lands sends it away. Now measure the slope.
- Drive a stake at the foundation and another 10 feet straight out.
- Tie a string between them and level it with a line level or your 4-foot level.
- Measure from the string down to the ground at each stake.
The ground at the outer stake should be at least 6 inches lower than at the house. That is the minimum fall the International Residential Code calls for within the first 10 feet. Where a property line, wall, or patio gets in the way, the code allows a steeper 5 percent slope with drains or a swale, and that is often a job for a landscaper or drainage contractor.
Step 5: Regrade the low spots
Add soil against the foundation and slope it outward. Work in layers of a few inches, tamping each one firm. Loose fill just soaks up water and settles back.
Rules that keep you out of trouble:
- Call Miss Utility (811) before you dig anything more than surface raking. It is free and required by law in DC, Maryland, and Virginia, even for gardening. DC asks for at least 96 hours’ notice; Maryland asks for at least 3 business days.
- Use soil with some clay in it for the slope, then top with a thin layer of mulch or sod. Mulch alone does not shed water.
- Keep soil off the siding. A common guideline is to leave at least 6 inches between soil and any wood siding, trim, or the bottom of siding. Piling dirt up to the brick line or over a basement window sill trades one problem for another.
- Don’t bury window wells. If a basement window sits close to grade, install or clean out a window well and cover rather than burying the opening.
- Check for termite treatment. Raising the soil can bridge over a treated zone. If you’re unsure, ask your pest control company before regrading.
Step 6: Test with a hose
Run a garden hose into the upper end of the extension, or let it flow onto the new grade, and watch where the water goes for five minutes. It should travel to the end of the extension and keep moving away. If it pools, extend farther or fix that low spot.
What the symptoms usually mean
| What you see | Likely cause | First thing to try |
|---|---|---|
| Damp basement wall below one downspout | Water dumping at the foundation | Extension and splash block |
| Puddle that stays for a day near the house | Negative slope or settled backfill | Regrade with tamped soil |
| Water overflowing gutter during rain | Clog, sagging gutter, or undersized gutter | Clear from the ground; call a pro above one story |
| Water bubbling out of an in-ground drain | Clogged or crushed underground pipe | Hose test; then a drain cleaner |
| Water in basement with no rain | Plumbing leak or groundwater | Not a gutter issue; call a plumber |
| Wet wall near chimney after wind-driven rain | Possible roof or flashing leak | Trace it from the attic (how to) |
When to stop and call a professional
Extensions and minor regrading are homeowner jobs. These are not:
- Any gutter or downspout work above one story. Hire an insured gutter contractor.
- Gutters pulling away from the fascia, or rotted fascia boards. That is a carpentry and gutter repair job.
- Cracks in the foundation wider than a hairline, bowing walls, or water coming through the floor. Get a structural engineer or a licensed waterproofing contractor.
- Underground drain lines, dry wells, or French drains. These involve excavation near utilities and should be designed properly.
- Grading against a neighbor’s property or a shared rowhouse wall, where water could be redirected onto someone else.
- Any work near the electrical service entrance or overhead lines.
Keep water moving away
Most wet-basement complaints start with water that never got more than a few feet from the house. Clear the spouts, extend them, and make the ground do the rest. If your gutters are undersized, sagging, or overflowing on the upper floors, our gutter team can size and install a system that carries the water where it should go. If storm water is coming in through the roof instead, see our roofing and storm damage pages, or check the areas we serve across DC, Maryland, and Northern Virginia. You can also call 202-798-7663.
Common questions
How far should a downspout extension carry water from the house?
A common guideline is at least 4 feet, with 6 feet preferred. If your yard has heavy clay soil, which is common across much of the DMV, or the water keeps finding its way back toward the wall, go longer or add a splash block at the end. What matters is that the water lands on ground that slopes away from the house.
What is the right slope for soil around a foundation?
The International Residential Code, which DC, Maryland, and Virginia all base their residential codes on, calls for the ground to fall at least 6 inches within the first 10 feet from the foundation. That works out to about a 5 percent slope. It is written for new construction, but it is a good target for any homeowner regrading a flower bed or a low spot.
Can I just pile mulch against the foundation to fix the slope?
No. Mulch soaks up water and lets it pass right through, so it does not shed rain the way compacted soil does. Build the slope with soil first, tamp it, then add a thin layer of mulch on top. Also keep soil and mulch well below any wood siding, trim, or the bottom of the siding so you are not inviting rot or insects.
My downspout goes into a pipe in the ground. Should I cut it off?
Not without checking first. In parts of DC and some older Maryland and Virginia neighborhoods, downspouts drain into underground pipes that may connect to a storm or sewer line, and local rules apply. Start by testing whether the pipe is draining with a garden hose. DC Water has run a voluntary downspout disconnection program, so check with your utility or jurisdiction before making changes.
A note on safety
This guide is general information for homeowners, not a substitute for an on-site assessment. Anything that puts you on a roof, above a single story, or near power lines is work for an insured professional with fall protection.