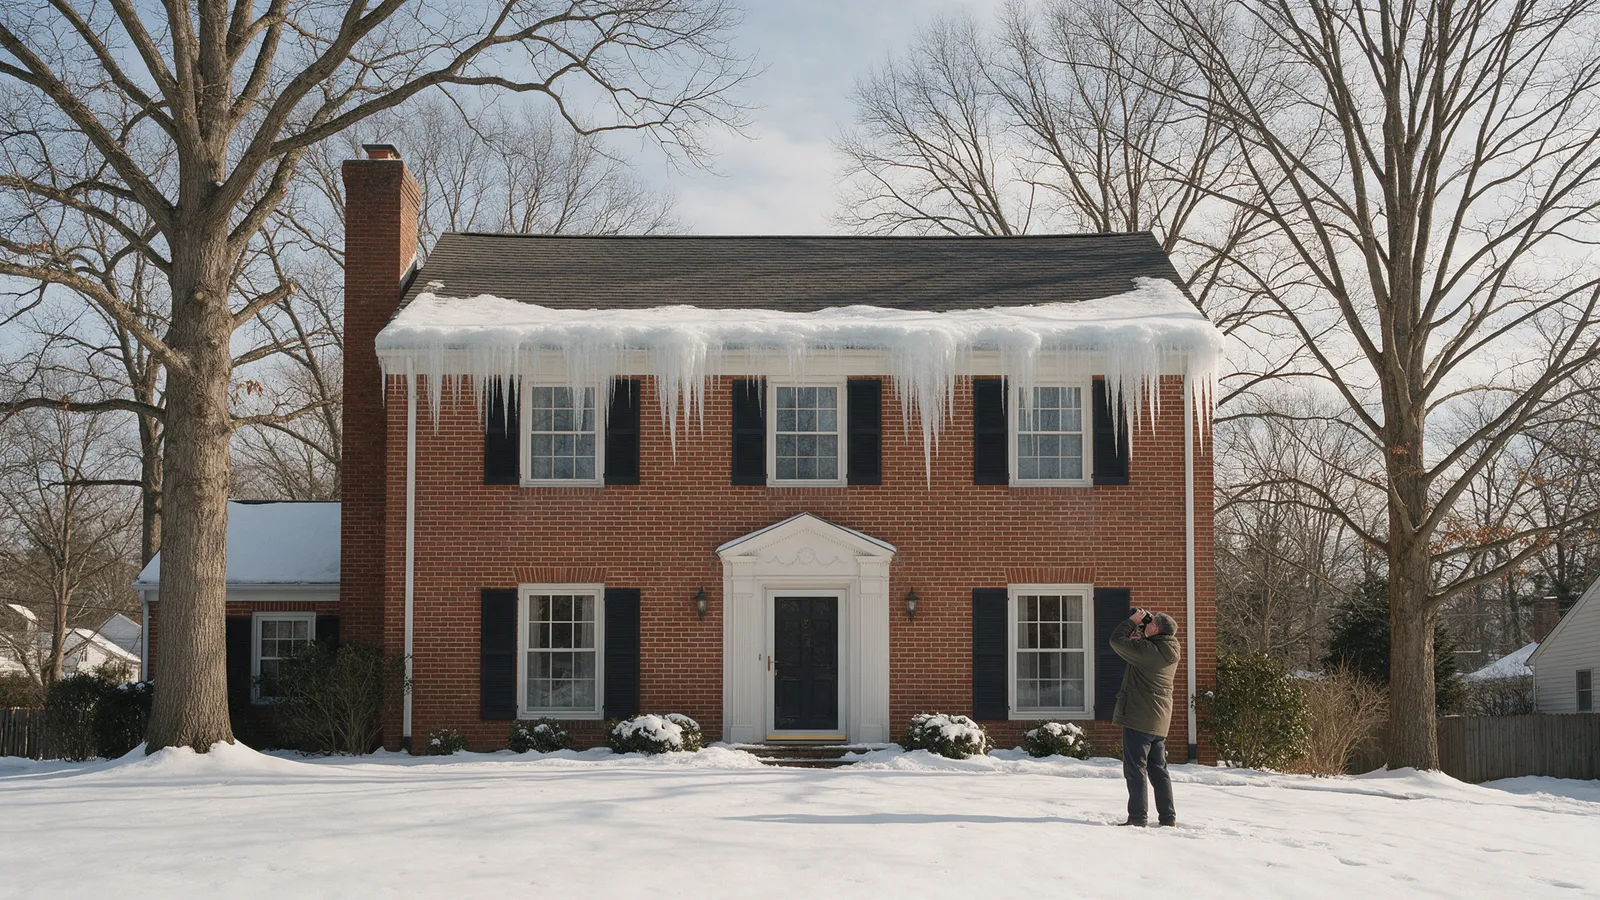
The first hard freeze in the DMV usually arrives somewhere between late October and mid-November — earlier in the outer suburbs, later inside the Beltway. Before it does, a few hours of checking your gutters and roof from the ground can head off the two most expensive winter problems we see: water backing up into walls and ceilings, and small roof issues that turn into active leaks during a freeze-thaw cycle.
Everything in this guide can be done safely by most homeowners. Where a step crosses into territory that belongs to a professional, we say so plainly.
What you’ll need
- A sturdy extension ladder (for one-story homes only — more on that below) and a ladder stabilizer, the U-shaped standoff that keeps the ladder off the gutter itself
- Work gloves, safety glasses, and a small plastic gutter scoop or garden trowel
- A bucket with a hook, or a tarp below your work area
- A garden hose with a spray nozzle
- A pair of binoculars, for checking the roof from the ground
- A flashlight, for the attic check
- A phone, to photograph everything you find
Step 1: Set the ladder up properly (or decide not to)
This is the step that matters most, and it’s the one people rush.
Decide first whether this is a DIY job at all. If your gutters are more than one story up, the ground is soft or sloped, or there are power lines anywhere near the roof edge, stop here and hire it out. Falls from ladders are among the most common serious injuries in home maintenance, and the risk rises sharply with height.
If you’re on a one-story home with level, firm ground:
- Use the 4-to-1 rule. For every four feet of height to where the ladder rests, the base should be one foot out from the wall.
- Extend the ladder at least three feet above the roof edge if you’ll need anything to hold onto at the top.
- Use a stabilizer. Leaning a ladder directly on an aluminum gutter can dent or crush it, and a stabilizer spreads the load onto the roof or wall.
- Keep three points of contact — two hands and a foot, or two feet and a hand — at all times, and move the ladder rather than overreaching. If your belt buckle goes outside the rails, you’re reaching too far.
- Have someone home. Ideally, someone footing the ladder.
Step 2: Clear the gutters
Work from the downspout outward so you aren’t pushing debris into the outlet.
- Scoop, don’t blast. Remove leaves and sludge by hand or with a scoop first. Hosing a full gutter mostly just moves the clog into the downspout.
- Note what you find. Pay attention to what comes out along with the leaves (see Step 5 on granules).
- Check the hangers as you go. Every couple of feet, a hanger or spike holds the gutter to the fascia. Loose ones show up as a gutter that pulls away or sags between attachment points.
Step 3: Flush and test the downspouts
Once the gutter is clear, run the hose into the far end and watch.
- Water should flow steadily toward the downspout without pooling. Standing water in sections means the slope is off. Gutters need a slight fall toward the outlet — a common guideline is about a quarter inch for every 10 feet of run.
- Water should come out the bottom of the downspout at full volume. If it backs up at the top, there’s a clog, usually at an elbow. Try flushing from the bottom up, or work it loose with a plumber’s snake. Don’t stand on the ladder hammering on a downspout.
- Watch for leaks at the seams and end caps. A drip at a joint now becomes an icicle — and a stain on your siding — later.
Step 4: Check where the water goes
This is the cheapest water-intrusion fix there is, and it’s routinely skipped.
Walk to the bottom of every downspout and look at where the water ends up. It should discharge well away from the foundation — we aim for six feet or more — onto ground that slopes away from the house. Water dumped right at the foundation is a leading cause of damp basements and crawl spaces in the region.
A $15 downspout extension or splash block fixes most of these. If the ground near the house slopes back toward it, that’s worth correcting with soil before winter.
Step 5: Inspect the roof from the ground
You don’t need to get on the roof, and you shouldn’t. A pair of binoculars from the yard, and from across the street, will show you most of what matters. Walk all four sides and look for:
| What you see | What it usually means |
|---|---|
| Missing, lifted, or creased shingles | Wind damage; a likely entry point for water |
| Bald, shiny, or dark patches on shingles | Granule loss; the roof surface is wearing out |
| Heavy granules in the gutters | Same as above — an aging roof |
| Loose or rusted metal around the chimney, vents, or skylights | Flashing failure, the most common source of leaks |
| Sagging along the ridge or between rafters | Possible deck or structural issue — call a pro |
| Moss or dark streaks | Moisture holding on the surface; streaks alone are usually algae and cosmetic |
| Soft-looking, peeling, or stained fascia boards behind the gutter | Gutter overflow has been rotting the wood |
Photograph anything you find, with the date. If a storm causes damage later this season, “before” photos make an insurance conversation much easier.
Step 6: Check the attic on a rainy day
The inside of the roof often tells you more than the outside. On a rainy day or right after one:
- Go into the attic with a flashlight. Stay on the joists, never the drywall between them.
- Look at the underside of the roof deck, especially around chimneys, vents, and valleys, for dark stains, damp wood, or drips.
- Check the insulation for wet or compressed patches.
- If you can see daylight through the decking anywhere other than at intentional vents, that’s an opening.
A dry attic after a heavy rain is one of the best signs you can get.
Step 7: Two quick freeze-prep jobs while you’re outside
These aren’t roof or gutter jobs, but they cause plenty of winter exterior damage and take ten minutes.
- Disconnect and drain garden hoses from outdoor faucets. Even frost-free sillcocks can split when a hose is left attached, because the water trapped in the hose keeps the valve from draining.
- Look at the caulk around windows and doors. Cracked or pulled-away caulk lets wind-driven rain into the wall. Recaulking is a reasonable DIY job, but check the tube first — many sealants need temperatures above 40°F to cure, so on a cold weekend it may need to wait.
When to stop and call a professional
DIY is great for clearing, testing, and looking. It isn’t the right tool for:
- Anything on the roof itself, or any gutter work above one story
- Damaged flashing around chimneys, vents, or walls
- Sagging gutters that need re-pitching or rehanging along their whole length
- Rotted fascia or soffit behind the gutters
- Interior stains or active drips that appear during rain
- Heavy granule loss or widespread bald patches, which usually point toward replacement rather than repair
If you found any of those, the cheapest time to deal with it is before the first freeze, not after.
For more depth on the systems in this guide, see our pages on gutters and roofing. If storm damage is what brought you here, start with our guide to storm damage and insurance claims. And if you’re planning a replacement, the permit and code rules for your jurisdiction differ a great deal between DC, Maryland, and Virginia.
Common questions
When should I clean my gutters in the DC area?
Late fall, after most of the leaves have dropped, is the one cleaning that matters most — usually mid-to-late November under oaks and maples. If you have heavy tree cover, add a second pass in early fall and a spring check after seed and pollen season. The goal is to go into winter with clear gutters so meltwater has somewhere to go.
Is it safe to clean gutters on a two-story house myself?
We would not recommend it. Ladder falls are one of the most common causes of serious home-maintenance injuries, and the risk climbs sharply with height. A one-story ranch or rambler on firm, level ground is reasonable DIY with a properly set ladder and a helper. Above one story, hire it out.
What does it mean if I find shingle granules in my gutters?
A small amount is normal, especially on a newer roof shedding loose granules. A heavy layer that looks like coarse sand, especially combined with bald or shiny patches on the shingles, usually means the roof is aging and losing its protective surface. That is a reason to get an inspection, not a reason to panic.
Do gutter guards mean I never have to clean my gutters?
No. Guards reduce how often you clean, and they work noticeably better under broad leaves like oak and maple than under pine needles, which tend to sit on top of the guard. Any guard still needs an occasional check and rinse. Be skeptical of anyone selling them as maintenance-free.
A note on safety
This guide is general information for homeowners, not a substitute for an on-site assessment. Anything that puts you on a roof, above a single story, or near power lines is work for an insured professional with fall protection.