If you live under the DMV’s tree canopy, you already know the routine: clean the gutters in late fall, then again in spring when the oak tassels and maple seeds come down, then again when they overflow in a July thunderstorm. Gutter guards promise to end that. Some deliver, some just move the problem from inside the gutter to the top of the guard.
This guide compares the four main types honestly, matches them to the trees over your roof, and shows you how to judge (and, on a one-story house, install) them without risking a fall or your roof warranty.
Know your debris first
The right guard depends less on brand and more on what falls on your roof. Spend ten minutes in the yard and look up.
- Large leaves (oak, maple, tulip poplar, sycamore). Common across Montgomery County, Arlington, Fairfax, and DC’s older neighborhoods. Big leaves are the easiest thing for any guard to stop.
- Oak tassels (catkins) and pollen in spring. These form a fine, felt-like layer that can lie flat on mesh and shed water over the edge.
- Maple “helicopter” seeds and sweetgum balls. Seeds wedge into large openings; sweetgum balls roll and lodge.
- Pine needles. Thin and stiff. They slip through ordinary screens and spear into foam and brush guards.
- Shingle grit. Asphalt shingles shed granules as they age. These pass through most guards and settle in the bottom of the gutter regardless.
Most DMV yards have a mix. A Bethesda colonial might be under oaks and a neighbor’s white pine at the same time, so plan for the finest debris you get, not the most common.
The four types compared
| Type | How it works | Best against | Weak spot | DIY-friendly? |
|---|---|---|---|---|
| Screen (perforated metal or plastic) | Holes or slots stop large debris | Big leaves | Pine needles, seeds, and grit get through; snap-in styles can blow out in wind | Yes, on one story |
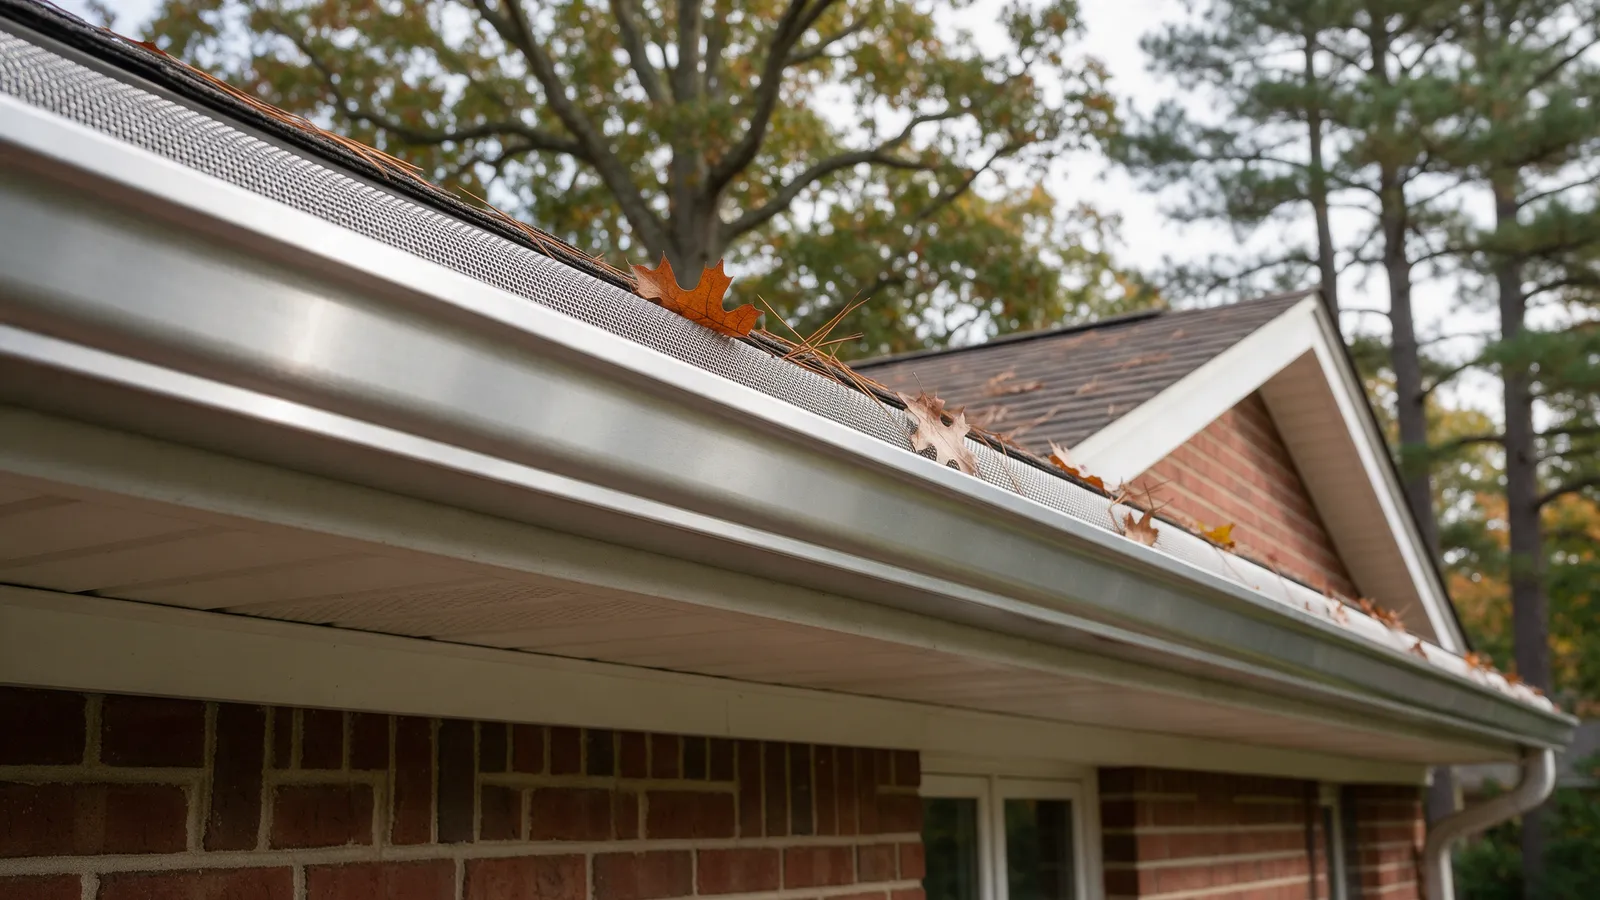
| Micro-mesh | Fine stainless mesh over a frame | Pine needles, small seeds, most debris | Pollen and catkin mats on the surface; needs brushing | Possible, but fussy to fit |
| Reverse-curve (surface tension) | Water follows a curved lip into the gutter, debris slides off | Large leaves | Must match roof pitch; heavy downpours can overshoot; often professional-install only | Rarely |
| Foam / brush inserts | Fill the gutter so debris sits on top | Large leaves, short term | Short life, seeds sprout, needles stick, fine debris clogs pores | Very easy |
A few points the table can’t capture:
Micro-mesh consistently scores best in independent comparisons, including This Old House’s testing, but it’s the hardest of the mesh styles to install well. The mesh only works if it’s supported and pitched so debris dries and blows off.
Reverse-curve systems can work well under large-leaf trees, but they need to be installed at an angle that matches your roof, and several sources note they usually require a professional. In a hard summer cloudburst, some water can run past the curve.
Foam is often the cheapest upfront, but with typical lifespans estimated at only a few years, it tends to cost more per year than it looks.
Matching guards to DMV trees
| Your canopy | Reasonable first choice | Avoid |
|---|---|---|
| Mostly oak and maple, few pines | Sturdy screen fastened to the gutter lip, or micro-mesh | Foam (catkins and seeds clog it) |
| Pines nearby | Micro-mesh | Screens with large openings, foam, brush |
| Heavy spring pollen and oak tassels | Micro-mesh you can brush from the ground with a pole | Assuming “no maintenance” |
| Sweetgum or large seed load | Rigid screen or micro-mesh with a stiff frame | Brush inserts |
| Open lot, little tree cover | You may not need guards; seasonal cleaning may be cheaper | Paying for premium systems you don’t need |
What you’ll need (for a one-story DIY install)
- A sturdy extension ladder with a standoff stabilizer so it rests on the roof edge, not the gutter
- Work gloves, safety glasses, a gutter scoop, and a bucket
- A garden hose with a shutoff nozzle
- Guard sections sized to your gutter (most homes have 5-inch K-style; some have 6-inch, so measure before buying)
- Tin snips, a cordless drill, and the stainless screws recommended by the guard maker
- A helper on the ground to steady the ladder and hand up materials
Step 1: Measure and check the gutters themselves
Measure the width of the gutter opening and the total run from the ground with a tape and a quick sketch. Note the gutter style (K-style has a decorative front face; half-round is a semicircle). Guards are not universal.
Then look for problems a guard won’t fix: sagging sections, joints dripping, gutters pulling away from the fascia, or rot on the fascia board. Fix those first. A guard on a gutter that holds standing water just hides the water. Use binoculars for anything above the first story.
Step 2: Read your roof warranty before you buy
Find the paperwork for your shingles and look for language about accessories, alterations, or disturbing the shingles. Many guards are sold to slide under the first row of shingles, which means lifting them and breaking the factory sealant strip. That can weaken wind resistance at the eave, and some manufacturers say it can affect coverage.
Safer options clip to the gutter’s front lip and fasten to the back edge or the fascia without touching the roof. If a product must go under the shingles, ask the guard company for written confirmation that your shingle manufacturer approves it.
Step 3: Clean the gutters completely first
Scoop out every bit of debris and flush each run with a hose before installing anything. Watch each downspout: if water backs up, clear the clog from the bottom of the downspout before you go further. Our fall gutter and roof check walks through this.
Follow the ladder rules every time: set the base 1 foot out for every 4 feet of height, extend the ladder 3 feet above the edge if you need to step off at the top (you shouldn’t need to for this job), keep three points of contact, and move the ladder instead of leaning sideways.
Step 4: Test-fit one section
Install a single section near a downspout and run the hose on the roof edge above it (from the ladder, aiming water at the shingles, not walking on them). Watch whether water passes through the guard into the gutter or sheets over the front. If it overshoots, the guard is pitched wrong or isn’t compatible with your gutter.
Step 5: Install the rest and fasten every section
Work one section at a time, overlapping joints in the direction the water flows, and fasten each piece according to the instructions. Snap-in screens held only by tension are the ones that end up in the yard after a nor’easter. Cut end pieces with tin snips and cap the gutter ends so squirrels and birds can’t nest in them.
Step 6: Watch the first real rain
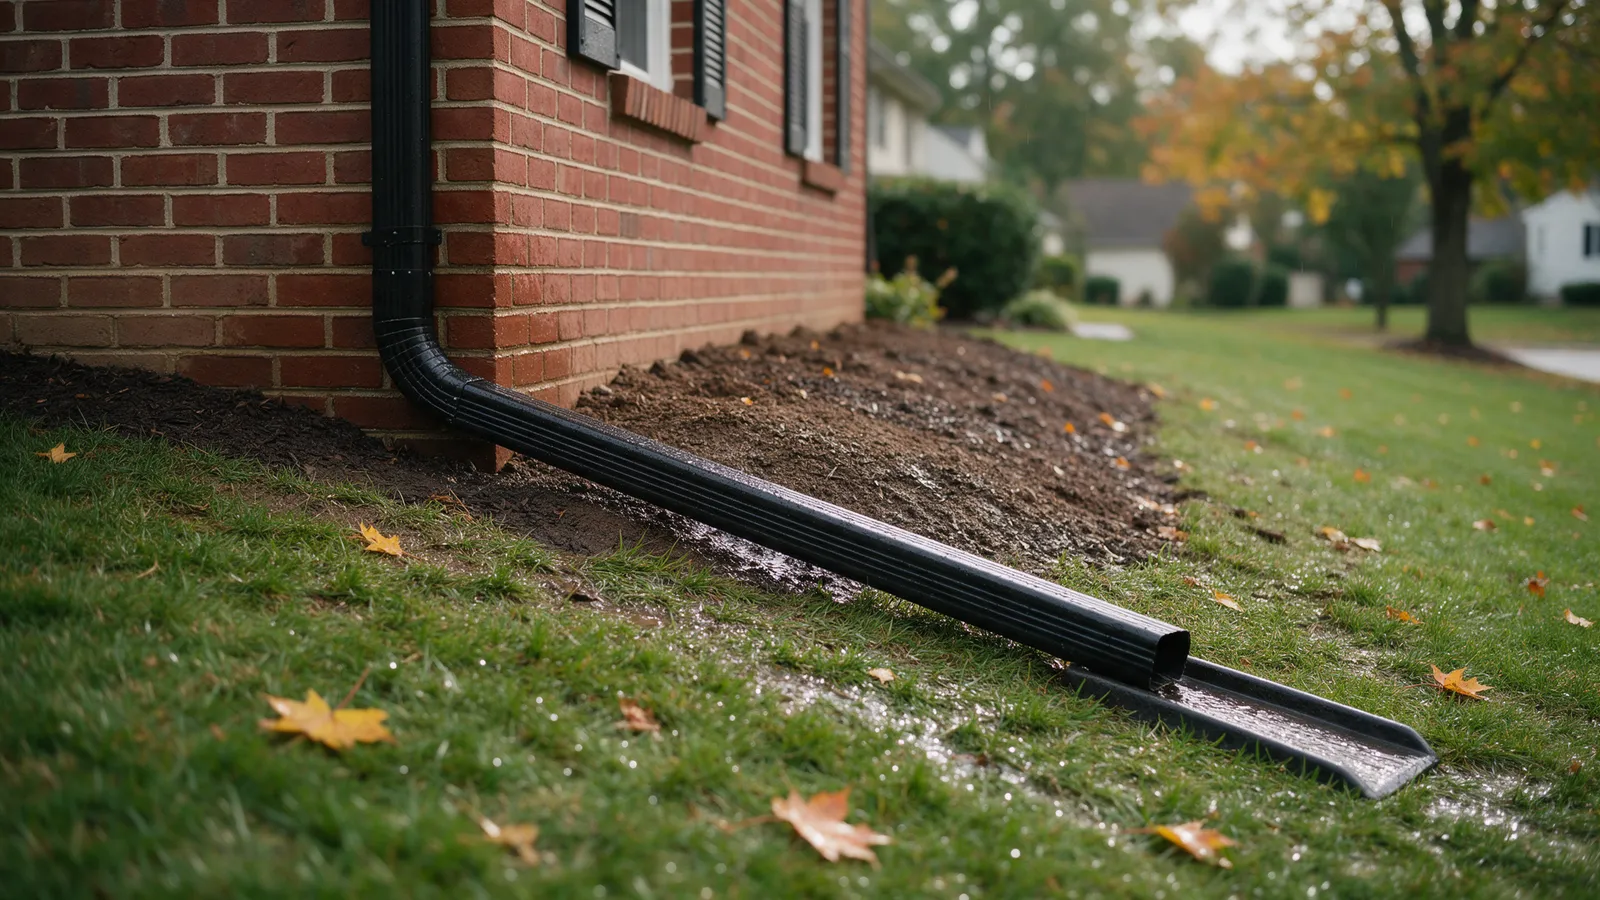
Go outside during the next steady rain and look at every run. Water spilling over the front edge in one spot usually means a section is out of pitch, a seam is lifted, or the surface is already matted. Then check your downspout extensions, because guards only help if the water leaves the house once it’s down.
Maintenance by season
- Spring (April–May): Oak tassels and pollen mat on mesh. Brush the surface from the ground with a soft brush on an extension pole, then rinse gently with a hose. Many sources warn that high pressure can push fine material into the mesh, so follow the manufacturer’s cleaning instructions.
- Summer: After the first big thunderstorm, watch for overflow at inside corners and valleys, where water arrives fastest.
- Fall: Leaves pile on top of guards when they’re wet. Most blow off once dry; stubborn piles at valleys may need a brush.
- Winter: Guards don’t cause ice dams; heat loss from the attic does. But any guard can ice over, and some raised designs can hold snow at the eave. If you see ice building, focus on attic insulation and ventilation rather than the guard.
Rough cost ranges
Prices vary widely by source, house height, and region, so treat these as rough ranges only and get local quotes:
- DIY materials: published figures range from a few dollars per linear foot for screens and foam up to roughly $7–$8 per foot for some micro-mesh products.
- Professionally installed: commonly quoted from the mid-single digits to more than $30 per linear foot, with premium micro-mesh systems at the high end. One industry survey put an average professional job on a typical house in the low thousands of dollars.
Whatever you buy, compare it against what you pay for cleaning now. On a lightly shaded house, two professional cleanings a year may cost less over ten years than a premium system.
When to stop and call a professional
- Any gutter above the first story. Do not install or clean two-story gutters from a ladder yourself. Hire an insured gutter or roofing contractor.
- Any job that requires walking on the roof, lifting shingles, or working on a steep or slate roof.
- Power lines near the roofline or service drop. Stay well clear and call a pro and, if needed, your utility.
- Sagging, separating, or leaking gutters, or soft and rotted fascia. That’s carpentry and gutter repair, not a guard install.
- Reverse-curve or premium micro-mesh systems that the manufacturer only warranties when installed by trained crews.
If you want a second opinion on whether guards make sense for your house, start with our gutter services page, see how gutters tie into the eave and drip edge on our roofing page, or find your neighborhood on our service areas list. DMV Exterior has served homeowners in DC, Maryland, and Northern Virginia since 2012; call 202-798-7663 to talk it through.
Common questions
Which gutter guard is best for pine needles?
Micro-mesh is generally the best fit. Its openings are small enough to stop pine needles, which slip through standard screens and stick in foam. You will still need to brush the top of the mesh off from time to time, because needles and pollen can lie flat on the surface.
Do gutter guards void my roof warranty?
They can if the installation lifts or nails through shingles. Many shingle warranties warn against disturbing shingles after installation, and sliding a guard under the first course breaks the sealant strip. Read your warranty, ask the guard maker whether your shingle manufacturer has approved the product, and favor guards that mount to the gutter lip or fascia without touching the shingles.
Do gutter guards mean I never have to clean my gutters again?
No. Every type needs some maintenance. Screens and foam let fine grit and seeds pass into the gutter, and micro-mesh can get a mat of pollen or oak catkins on top that blocks water. Plan on at least a yearly check, plus a look after spring pollen and fall leaf drop.
Are foam gutter guards worth it?
Foam is the cheapest and easiest to install, but it tends to be the shortest-lived option, with common estimates of only a few years. Seeds can sprout in it and fine debris clogs the pores. It can make sense as a short-term fix on a one-story gutter, but most homeowners end up replacing it.
A note on safety
This guide is general information for homeowners, not a substitute for an on-site assessment. Anything that puts you on a roof, above a single story, or near power lines is work for an insured professional with fall protection.